How to USE your Virtual Santa Projector -

Here are some simple “step-by-step” instructions on how to use your Virtual Santa LED Projector.
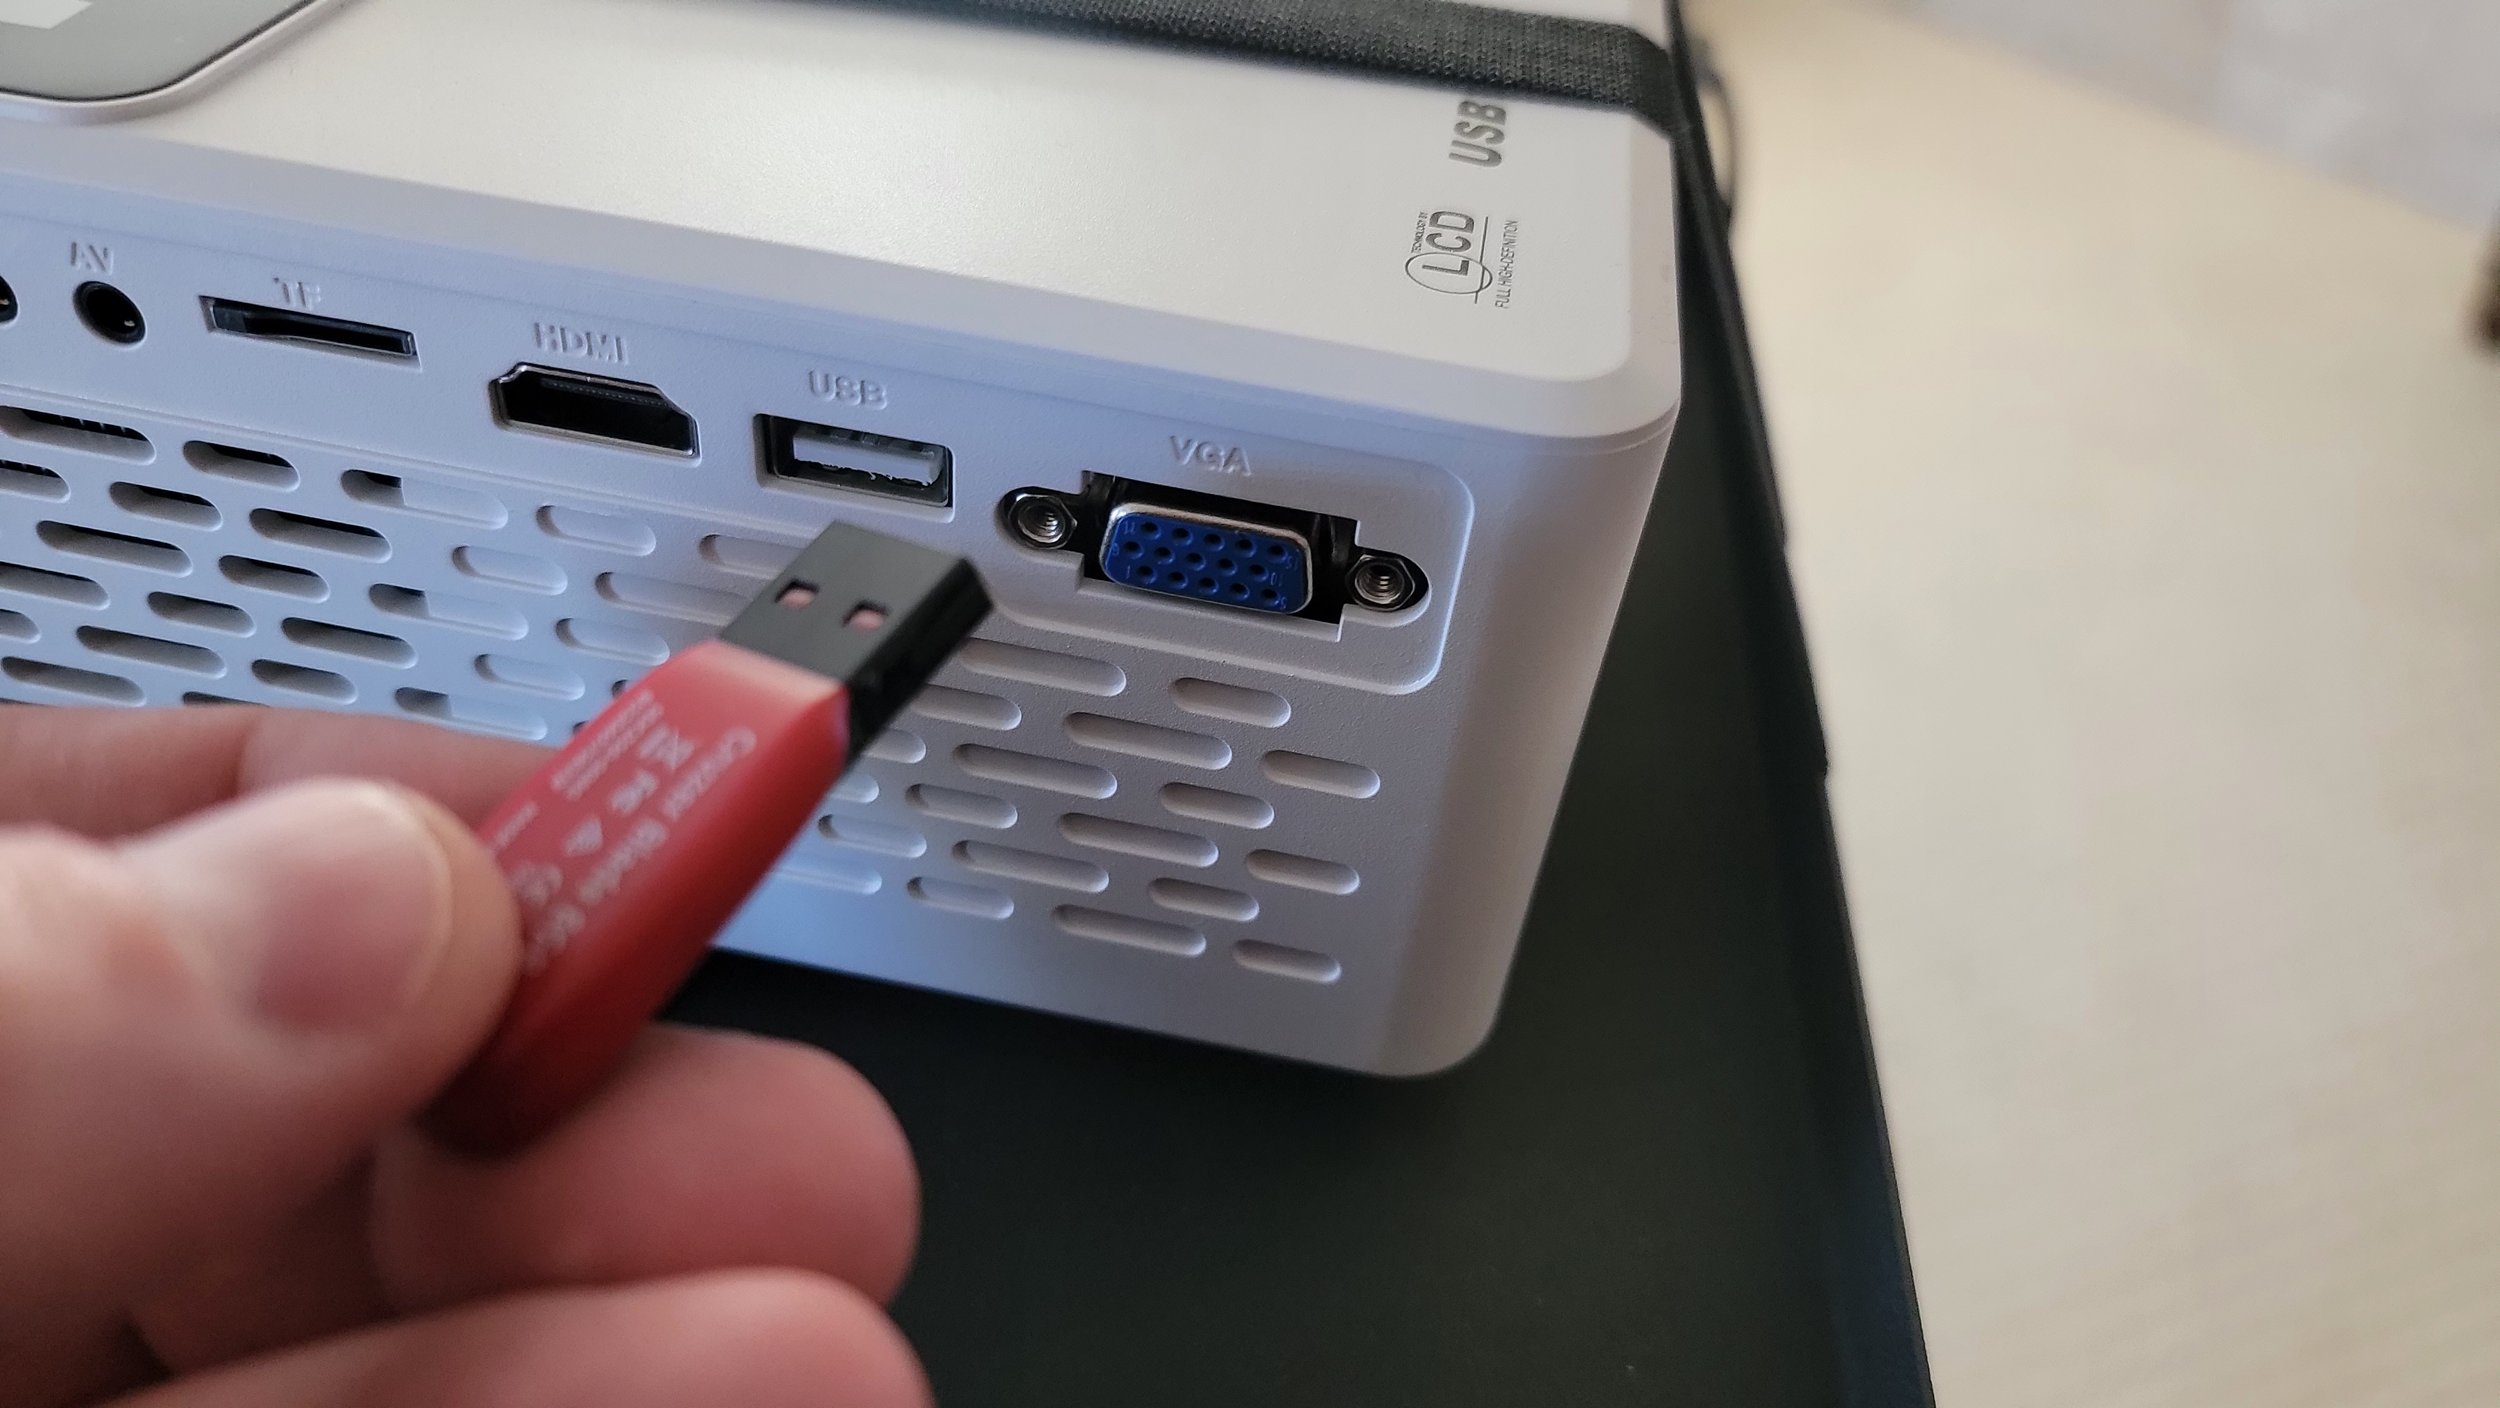
1) Unbox your Virtual Santa LED Projector and Insert the USB flash drive in the USB port.
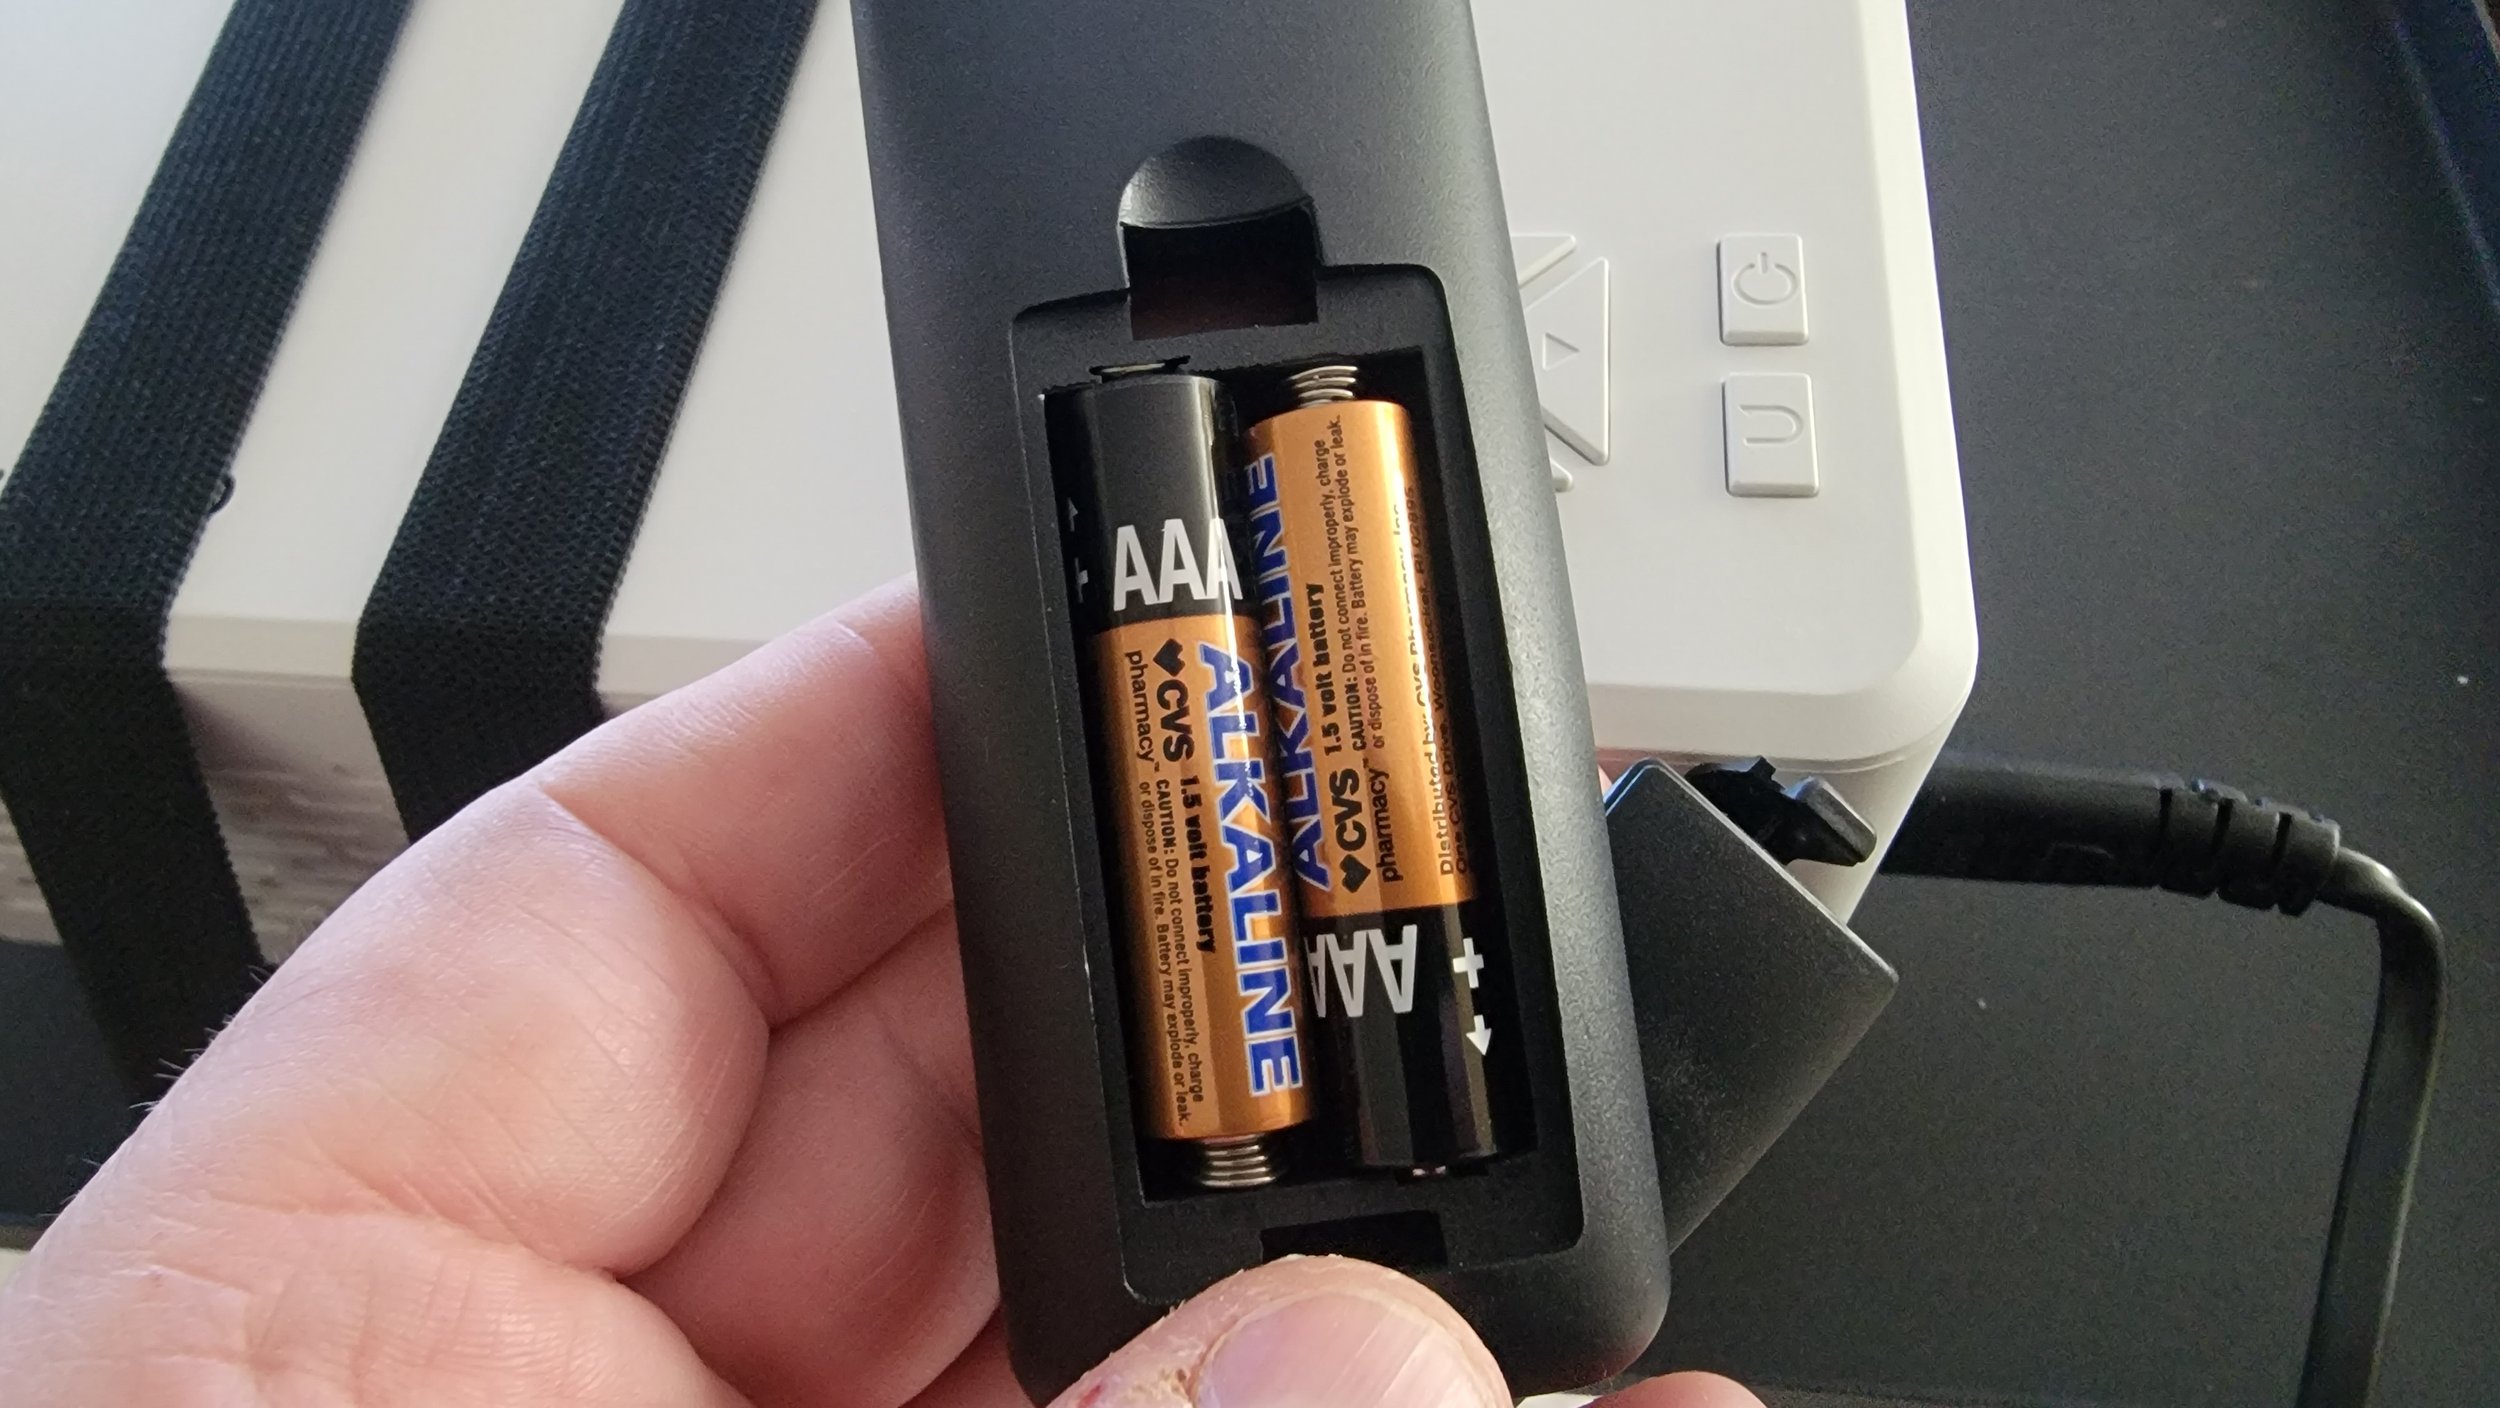
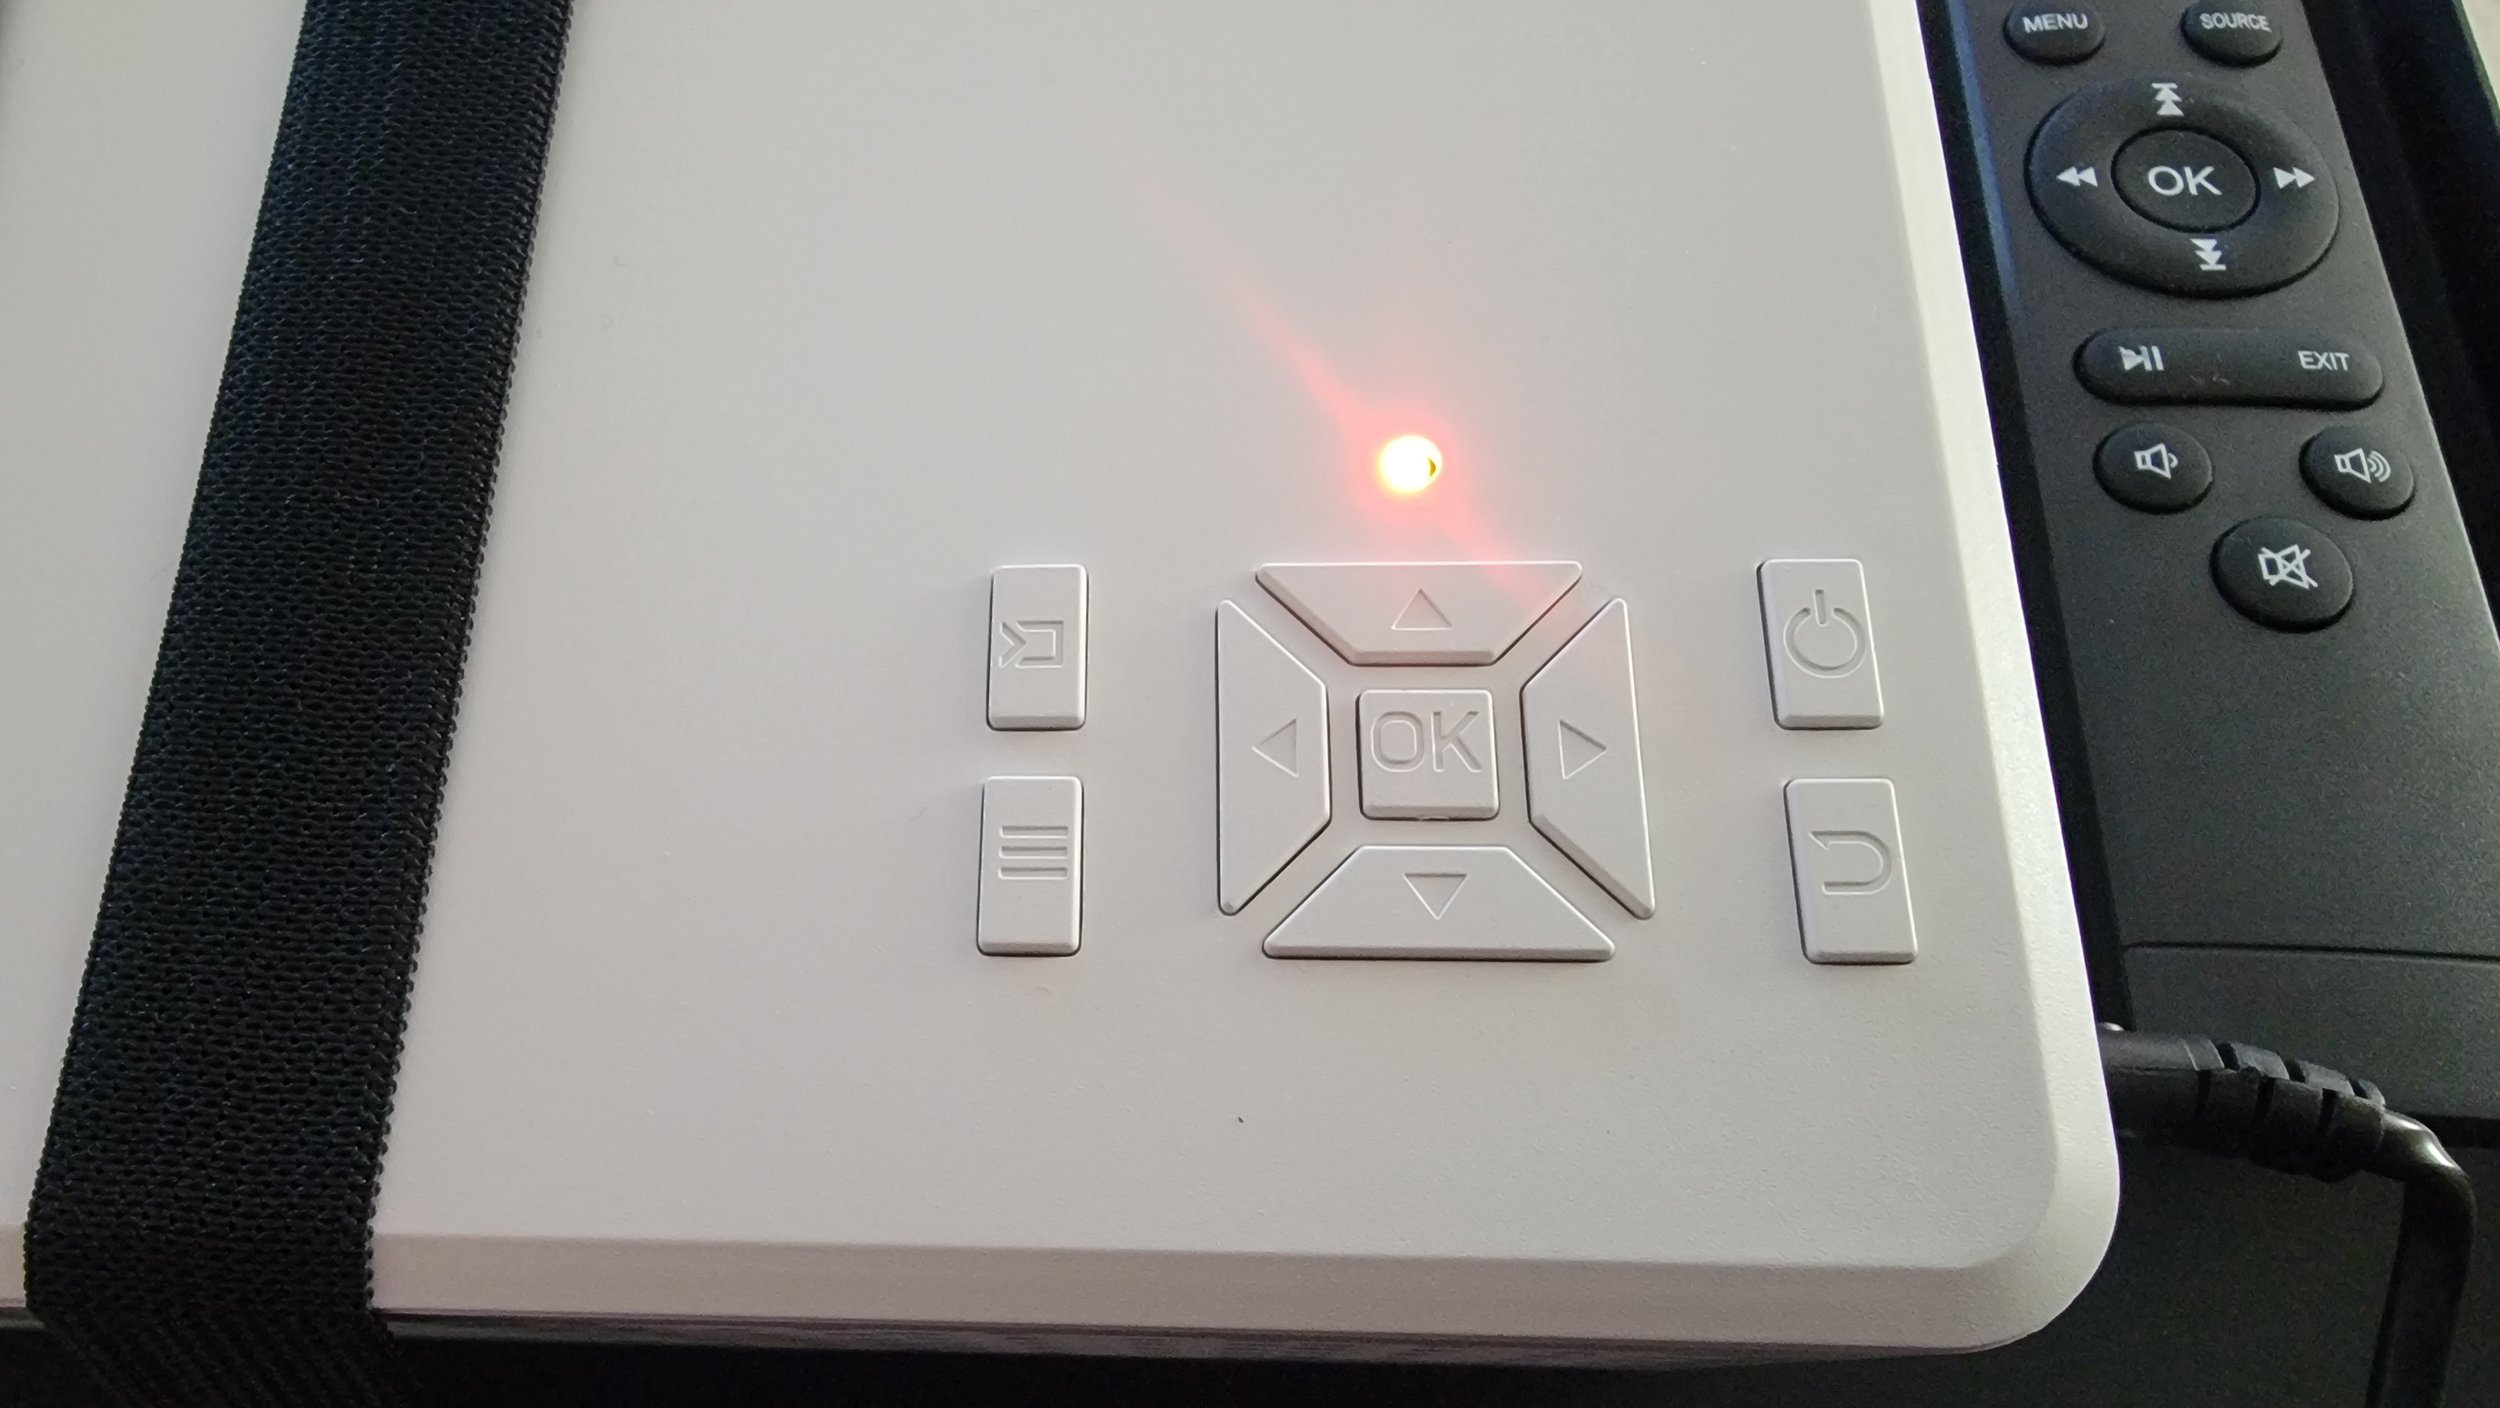
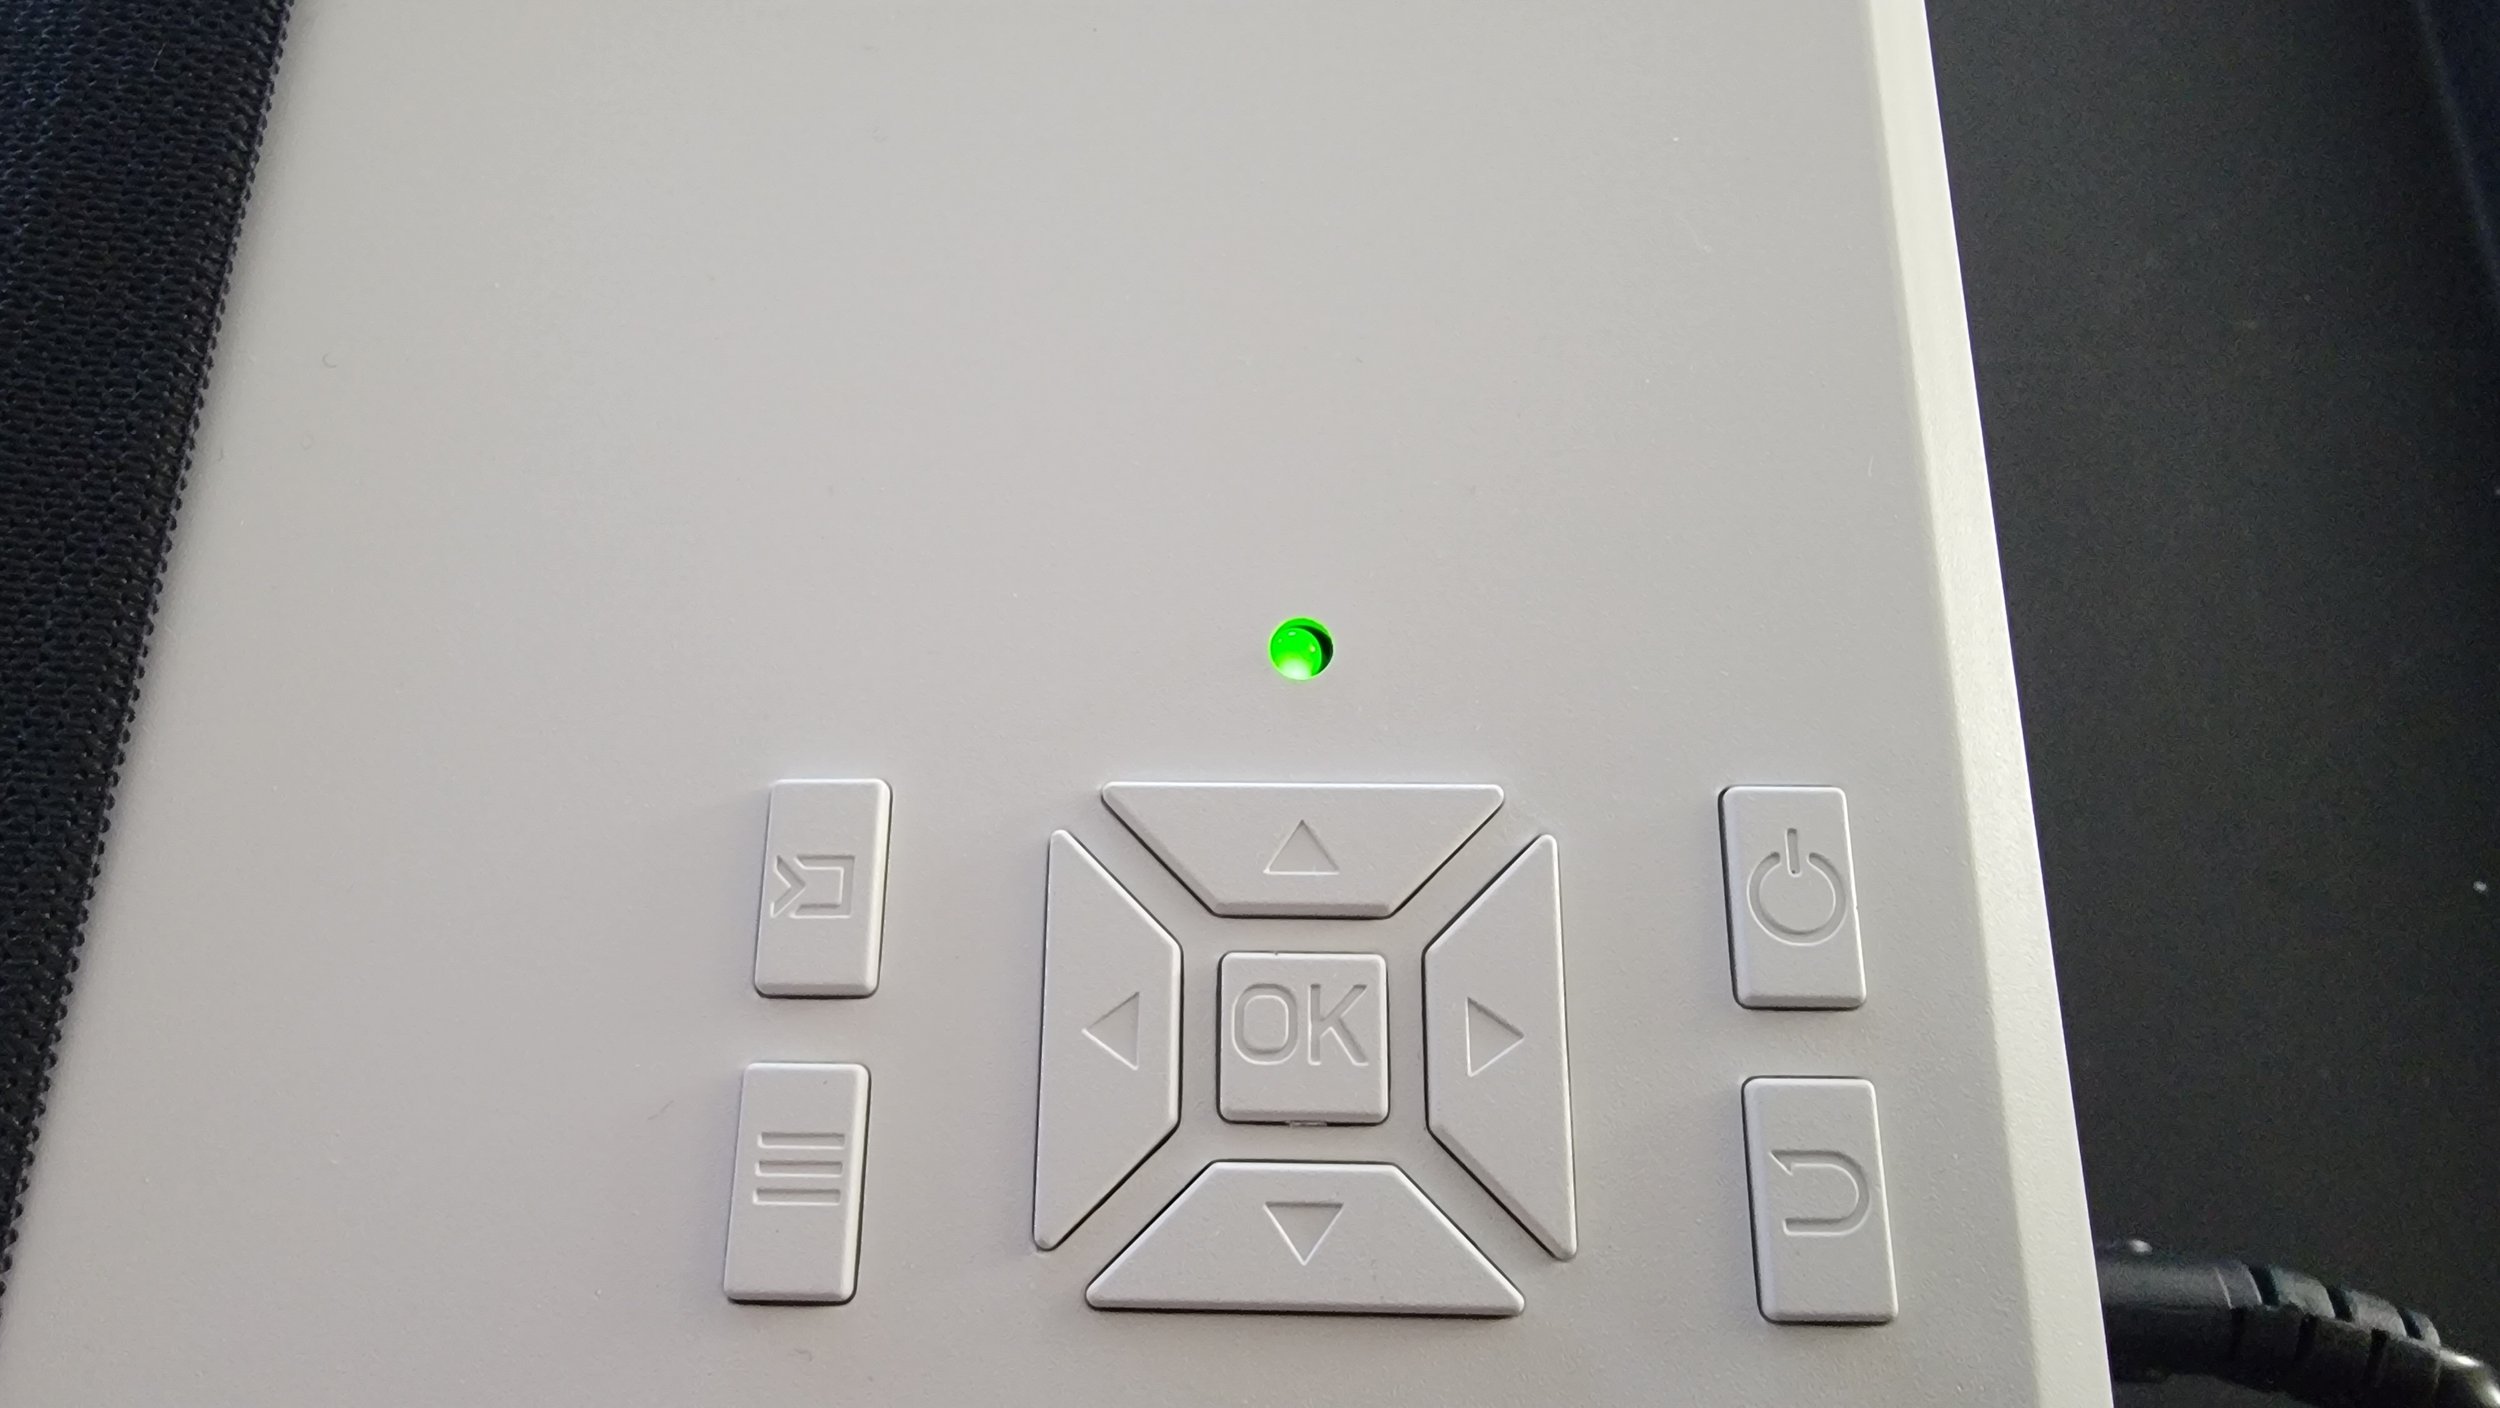
2) Place batteries in your remote, and plug-in your LED projector - a red light will appear.
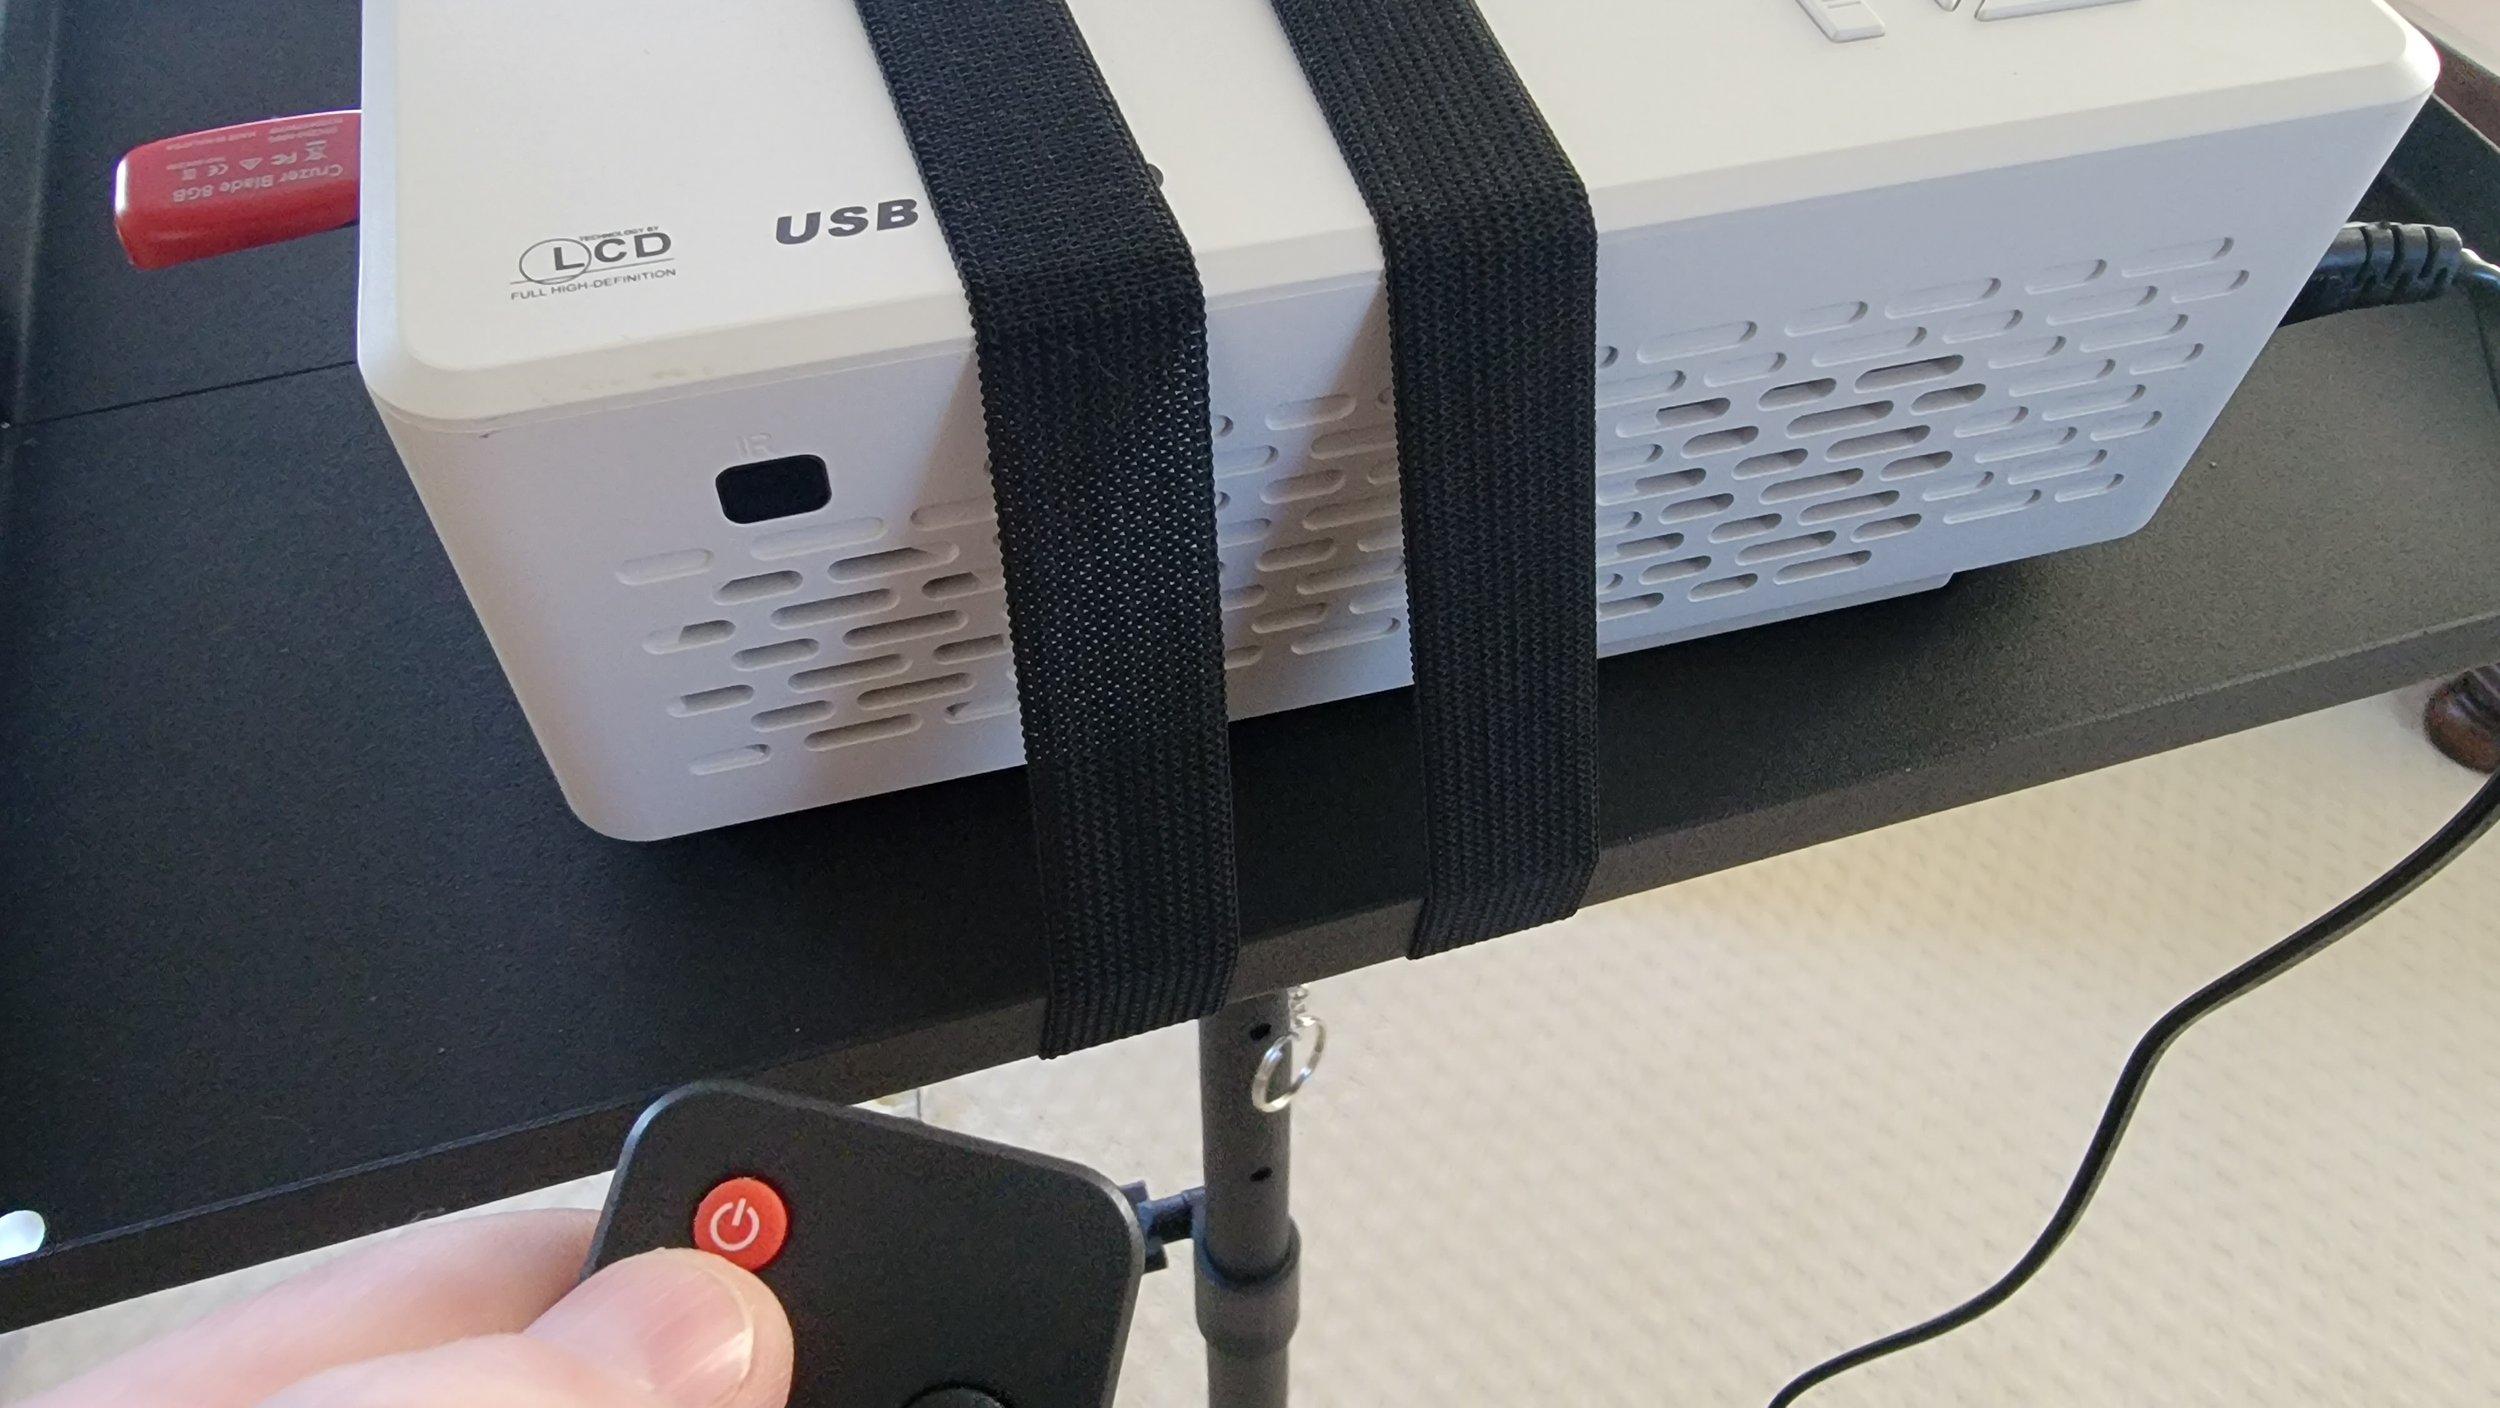
3) Using thed remote, hit the red power button - The projector LED light will turn green.
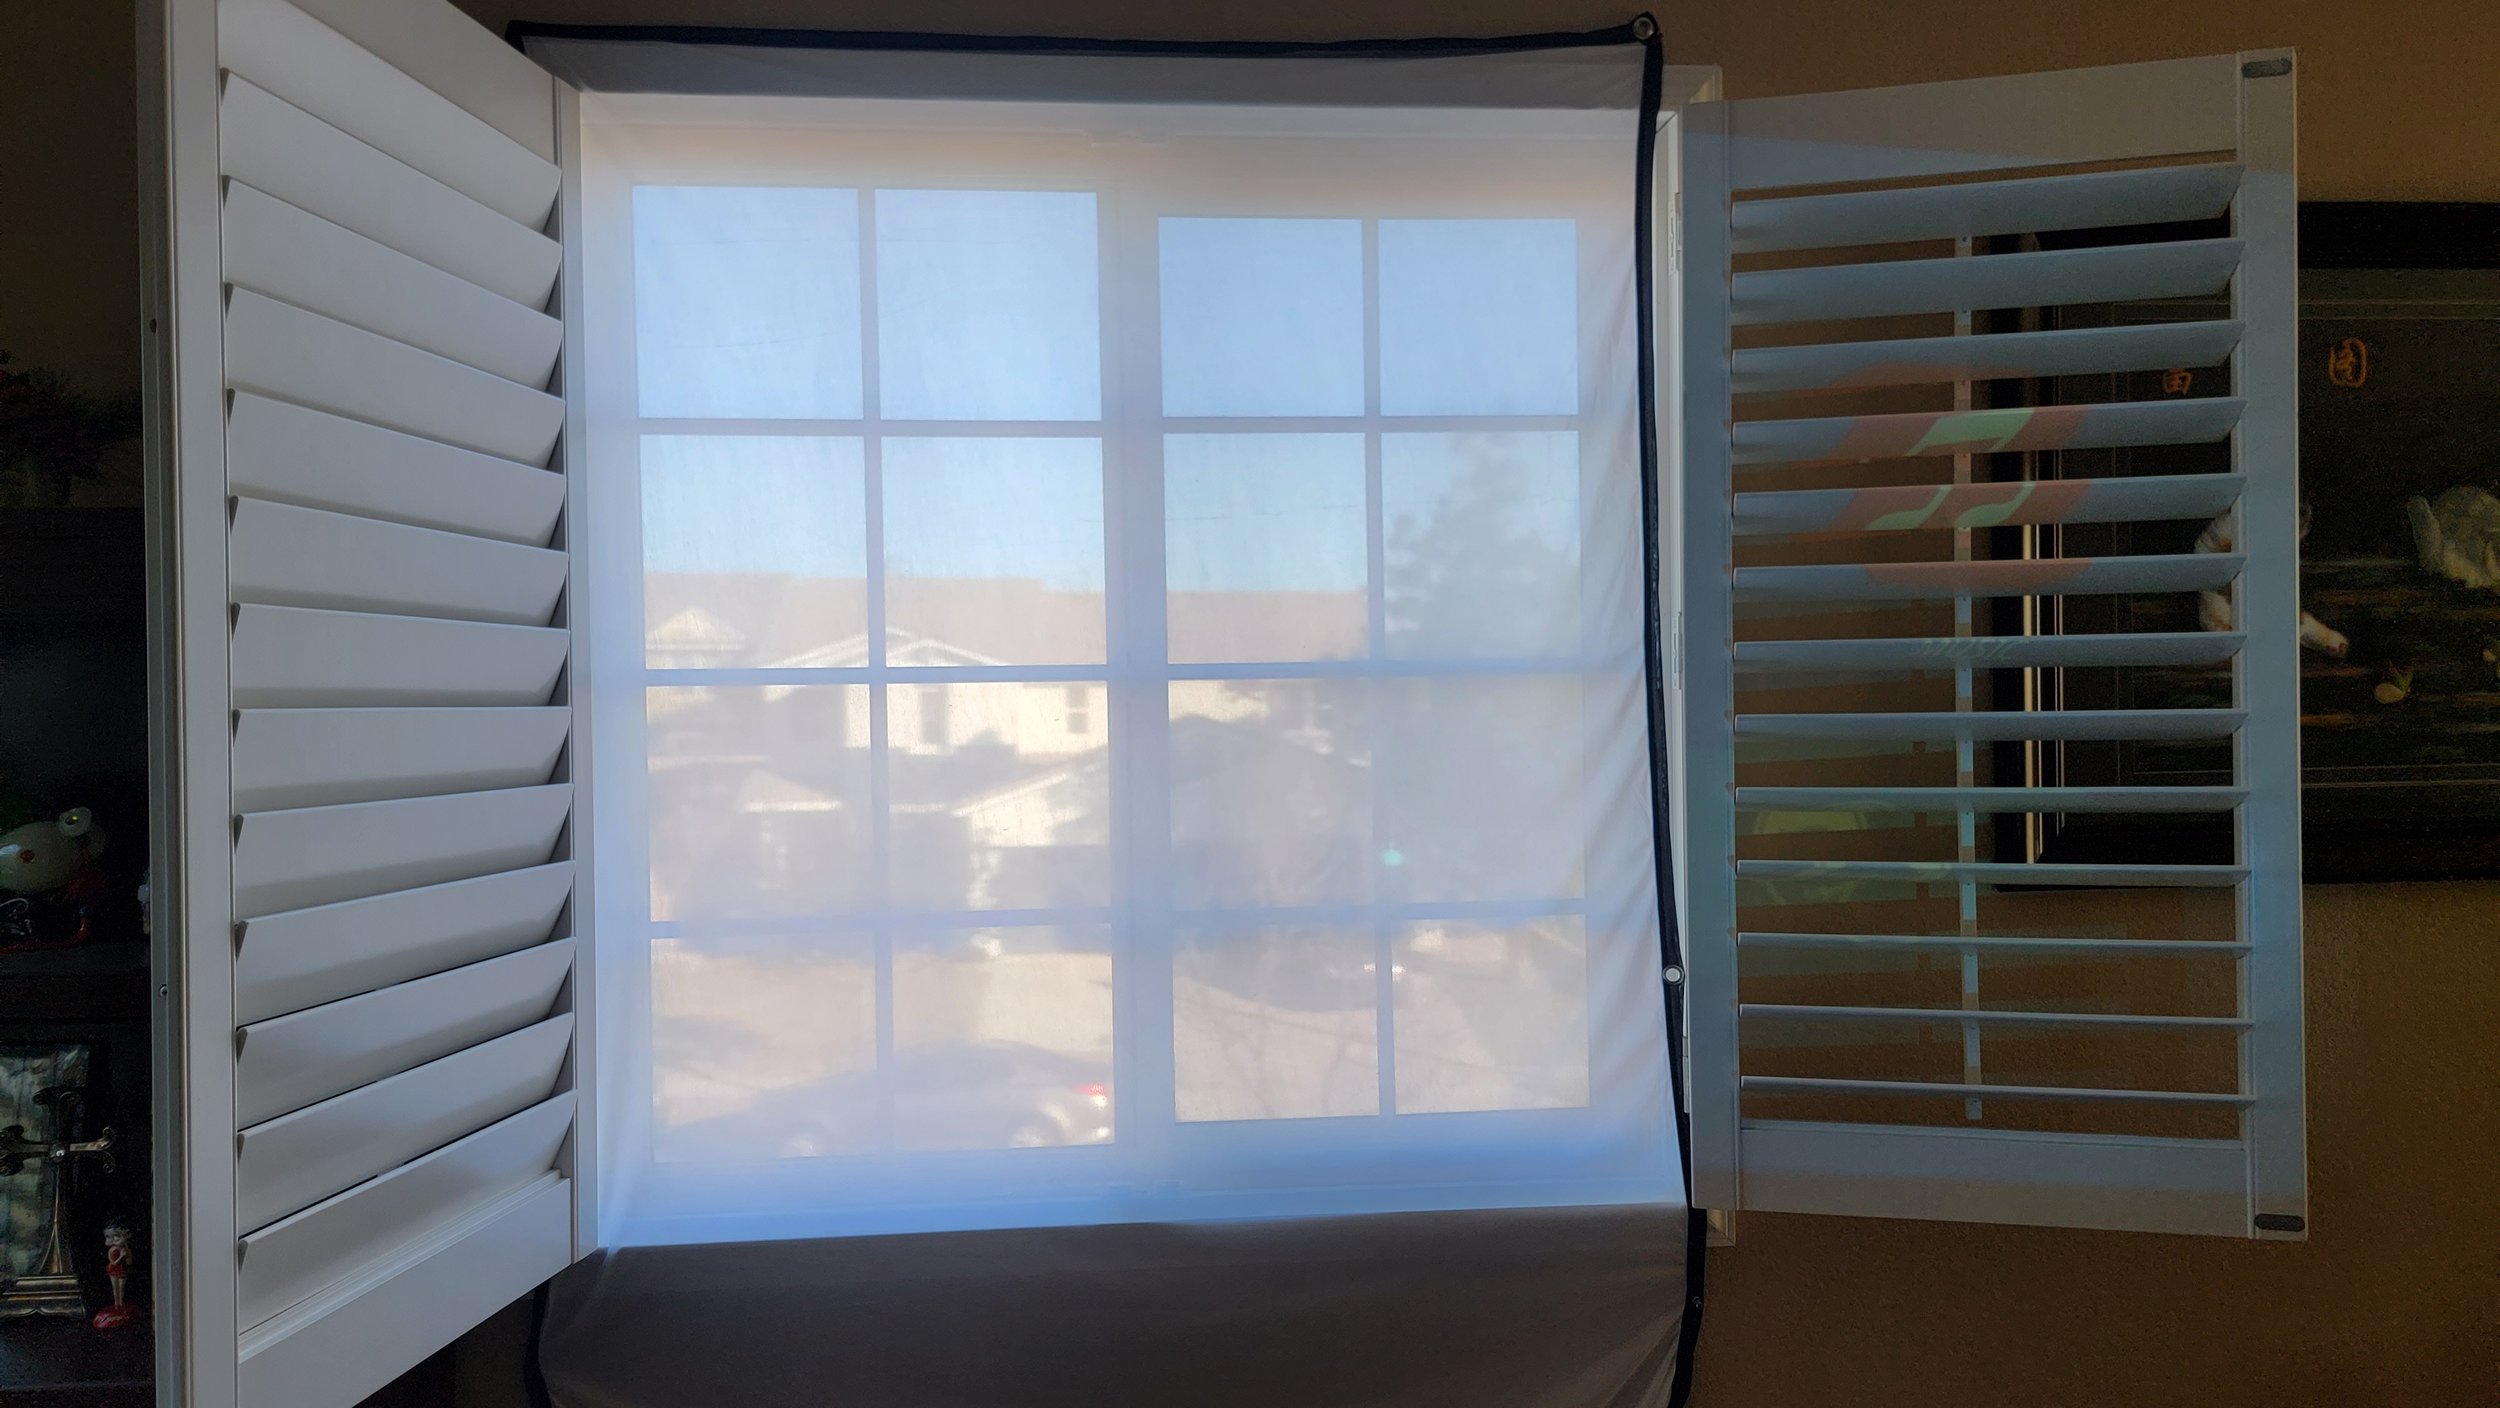
4) Hang up the included 100 inch projector screen, is it flexible and very versitle, you cannot damage it.
5) Place the projector in a desired location (In-Front) of a window, and focus the image.
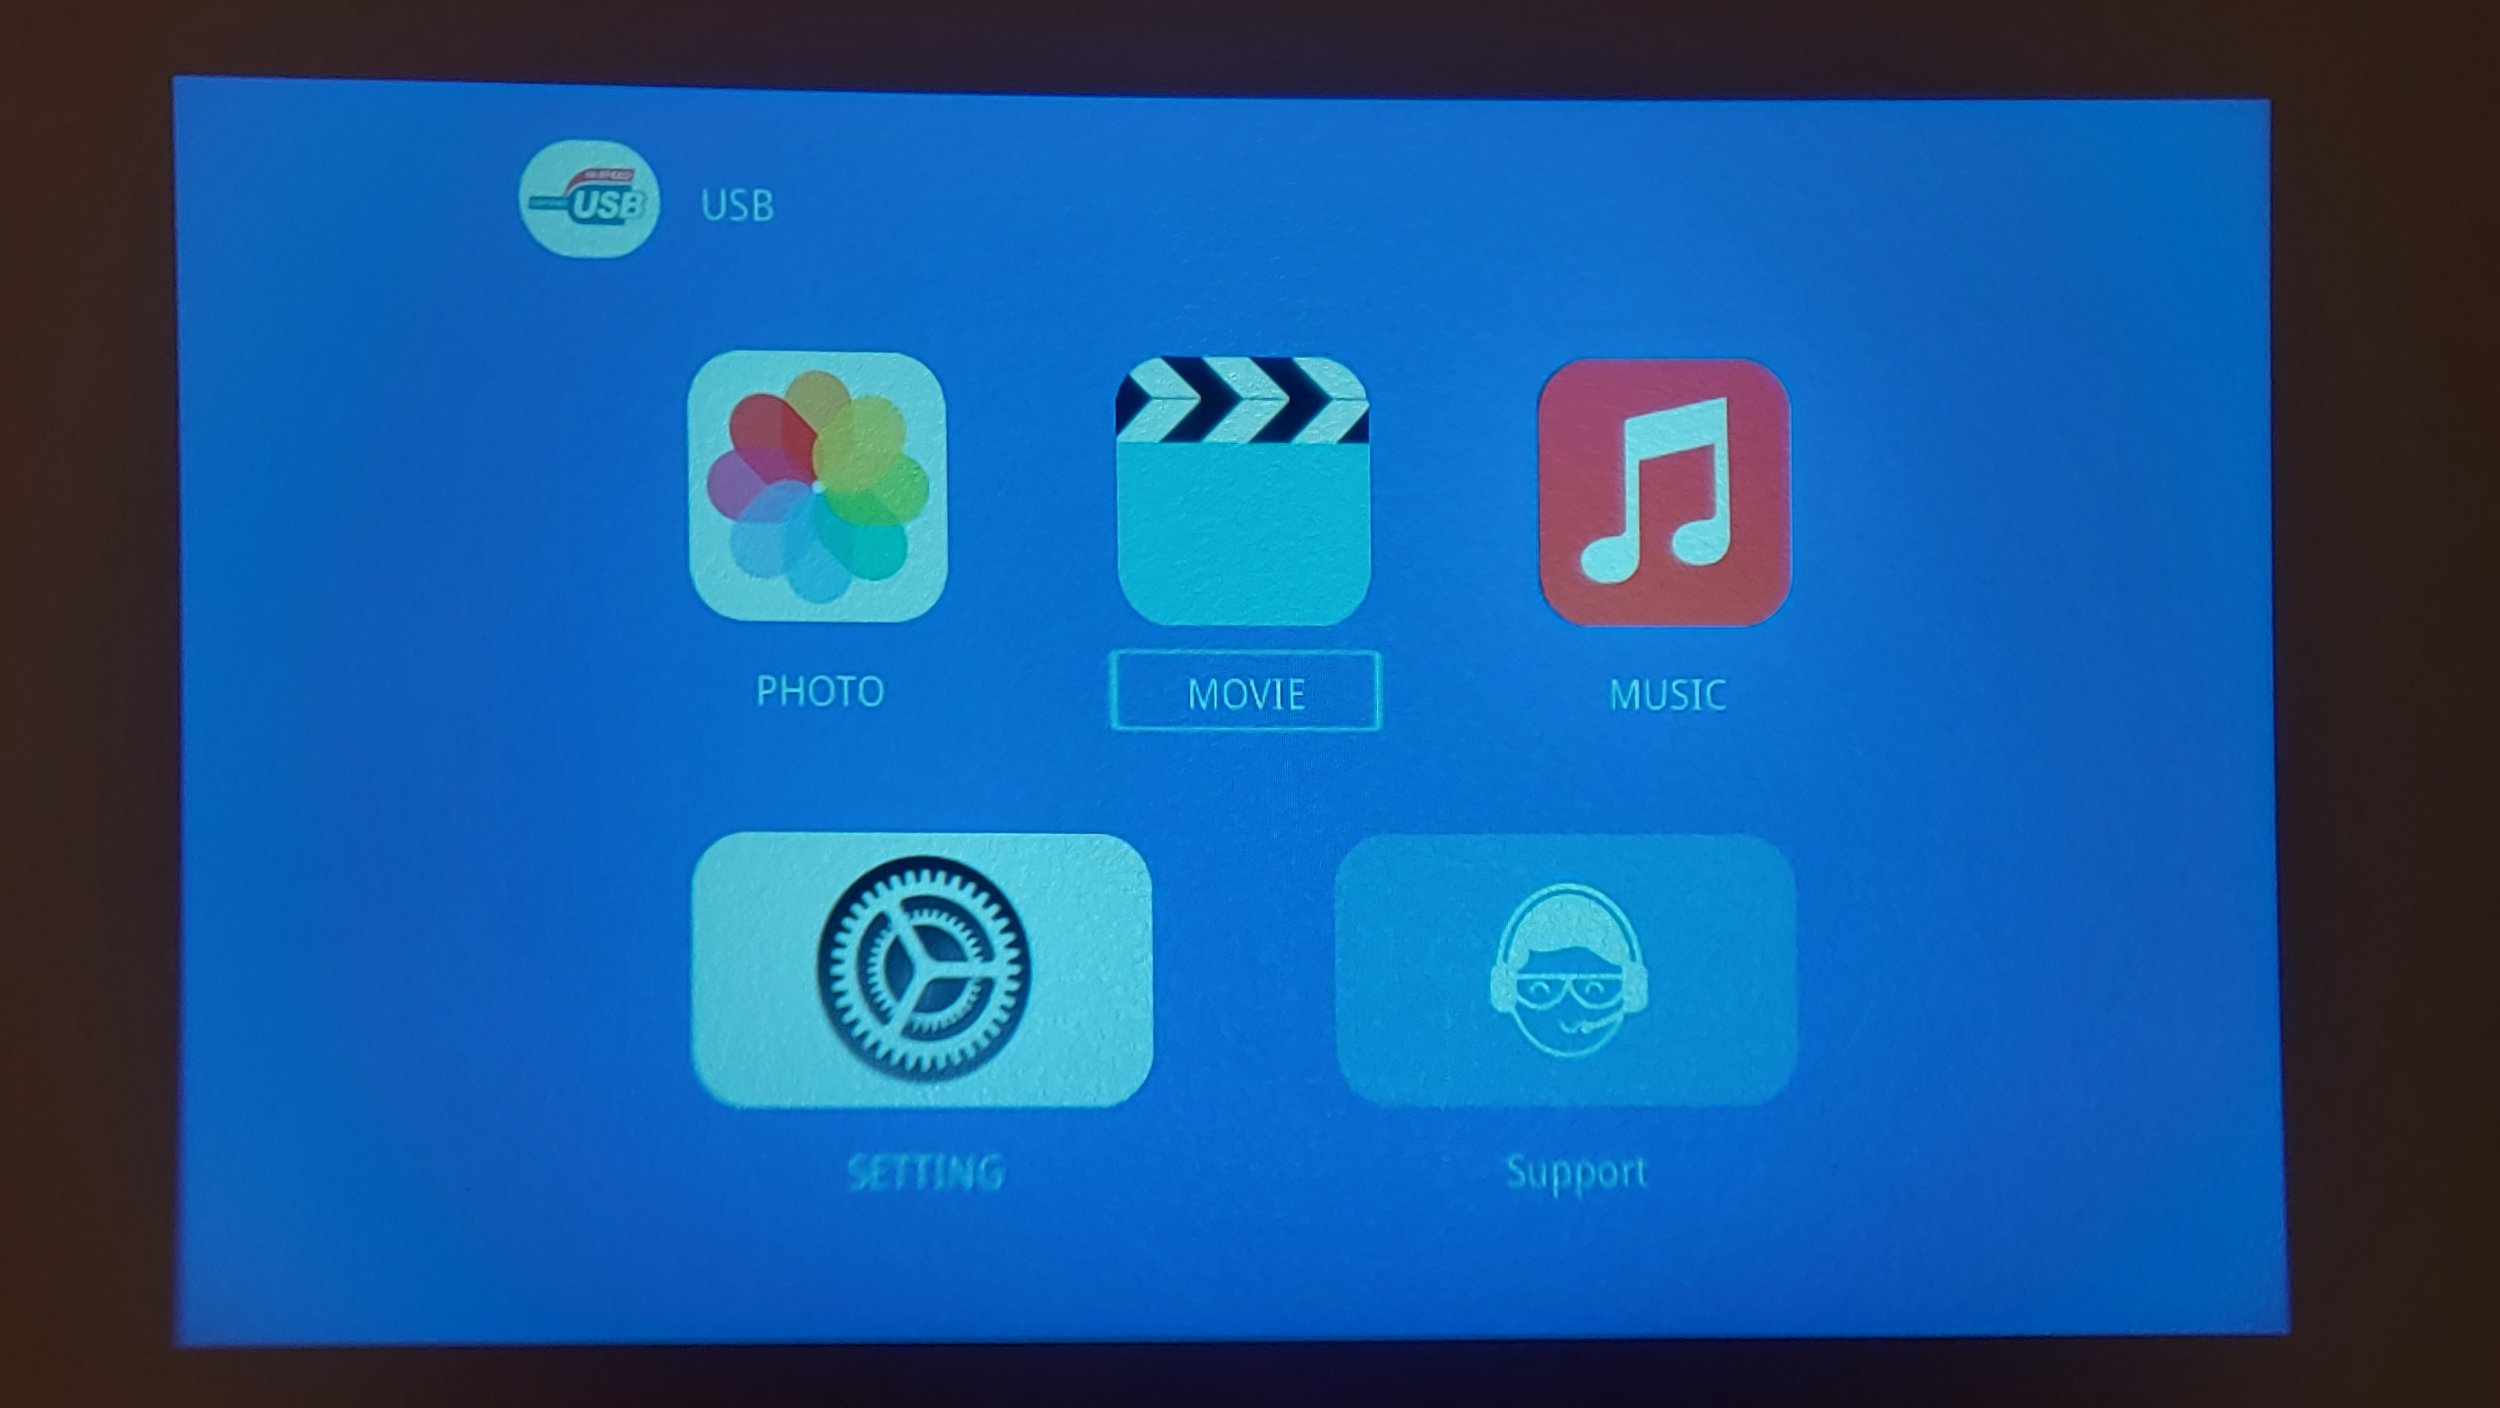
5) Click on the movie icon.
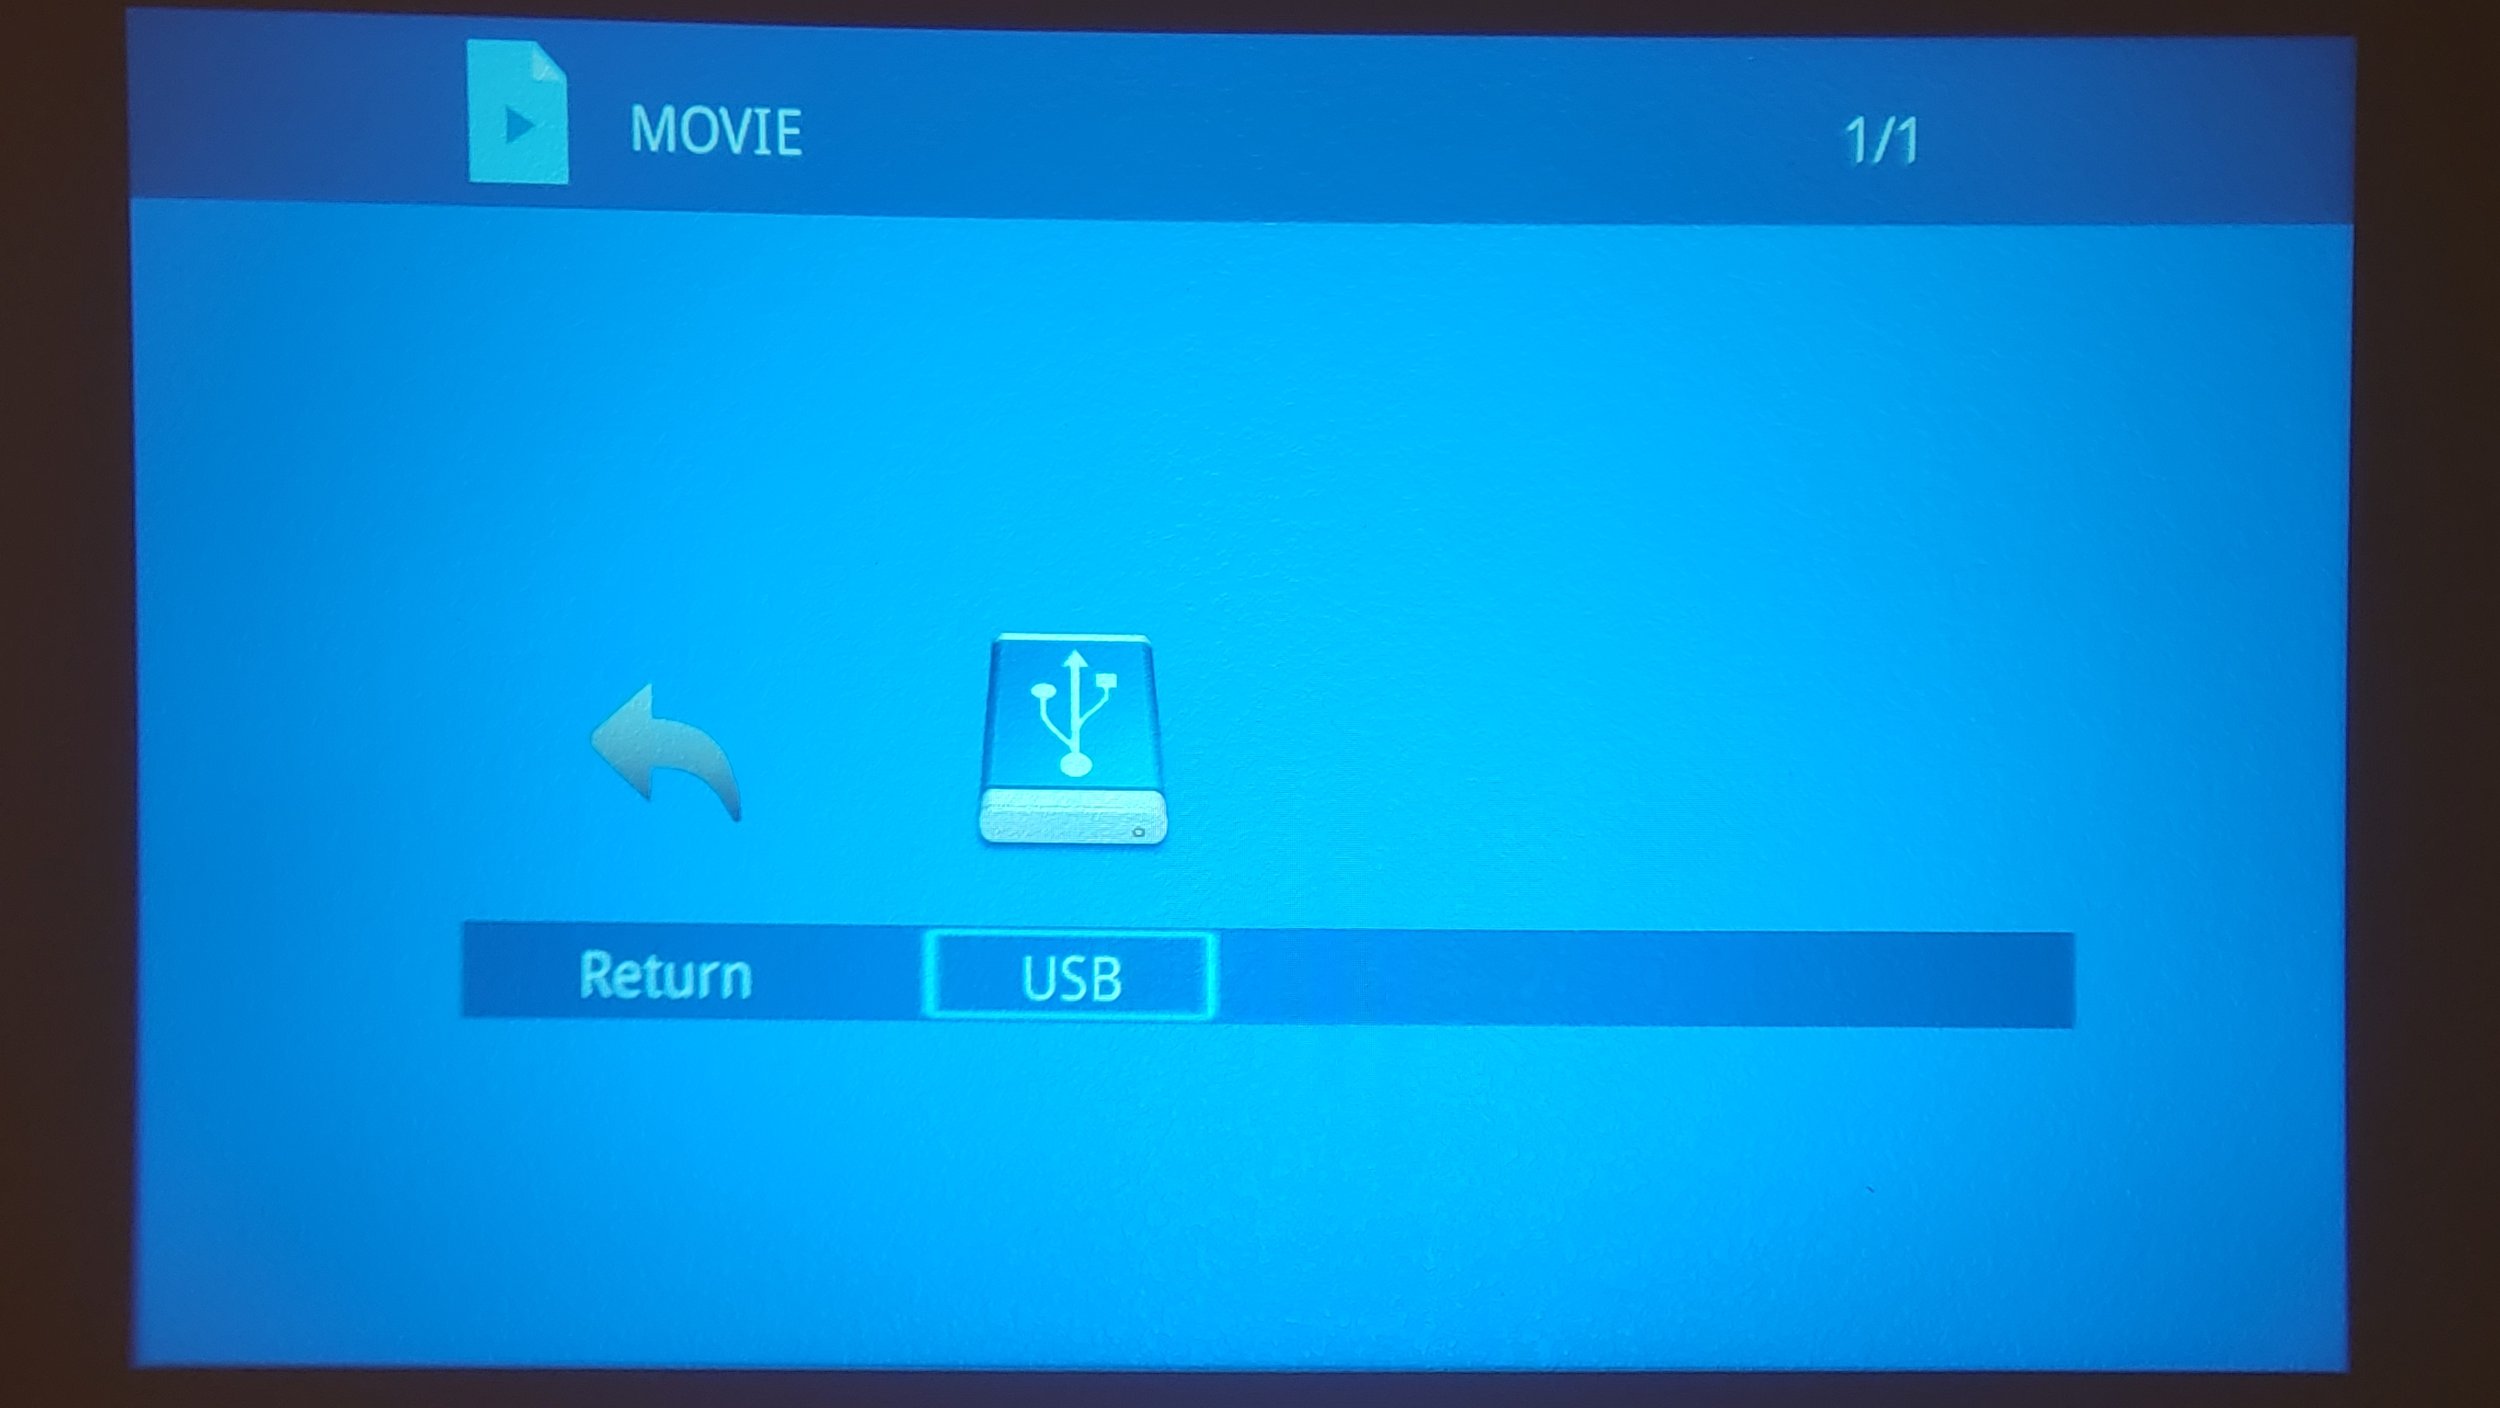
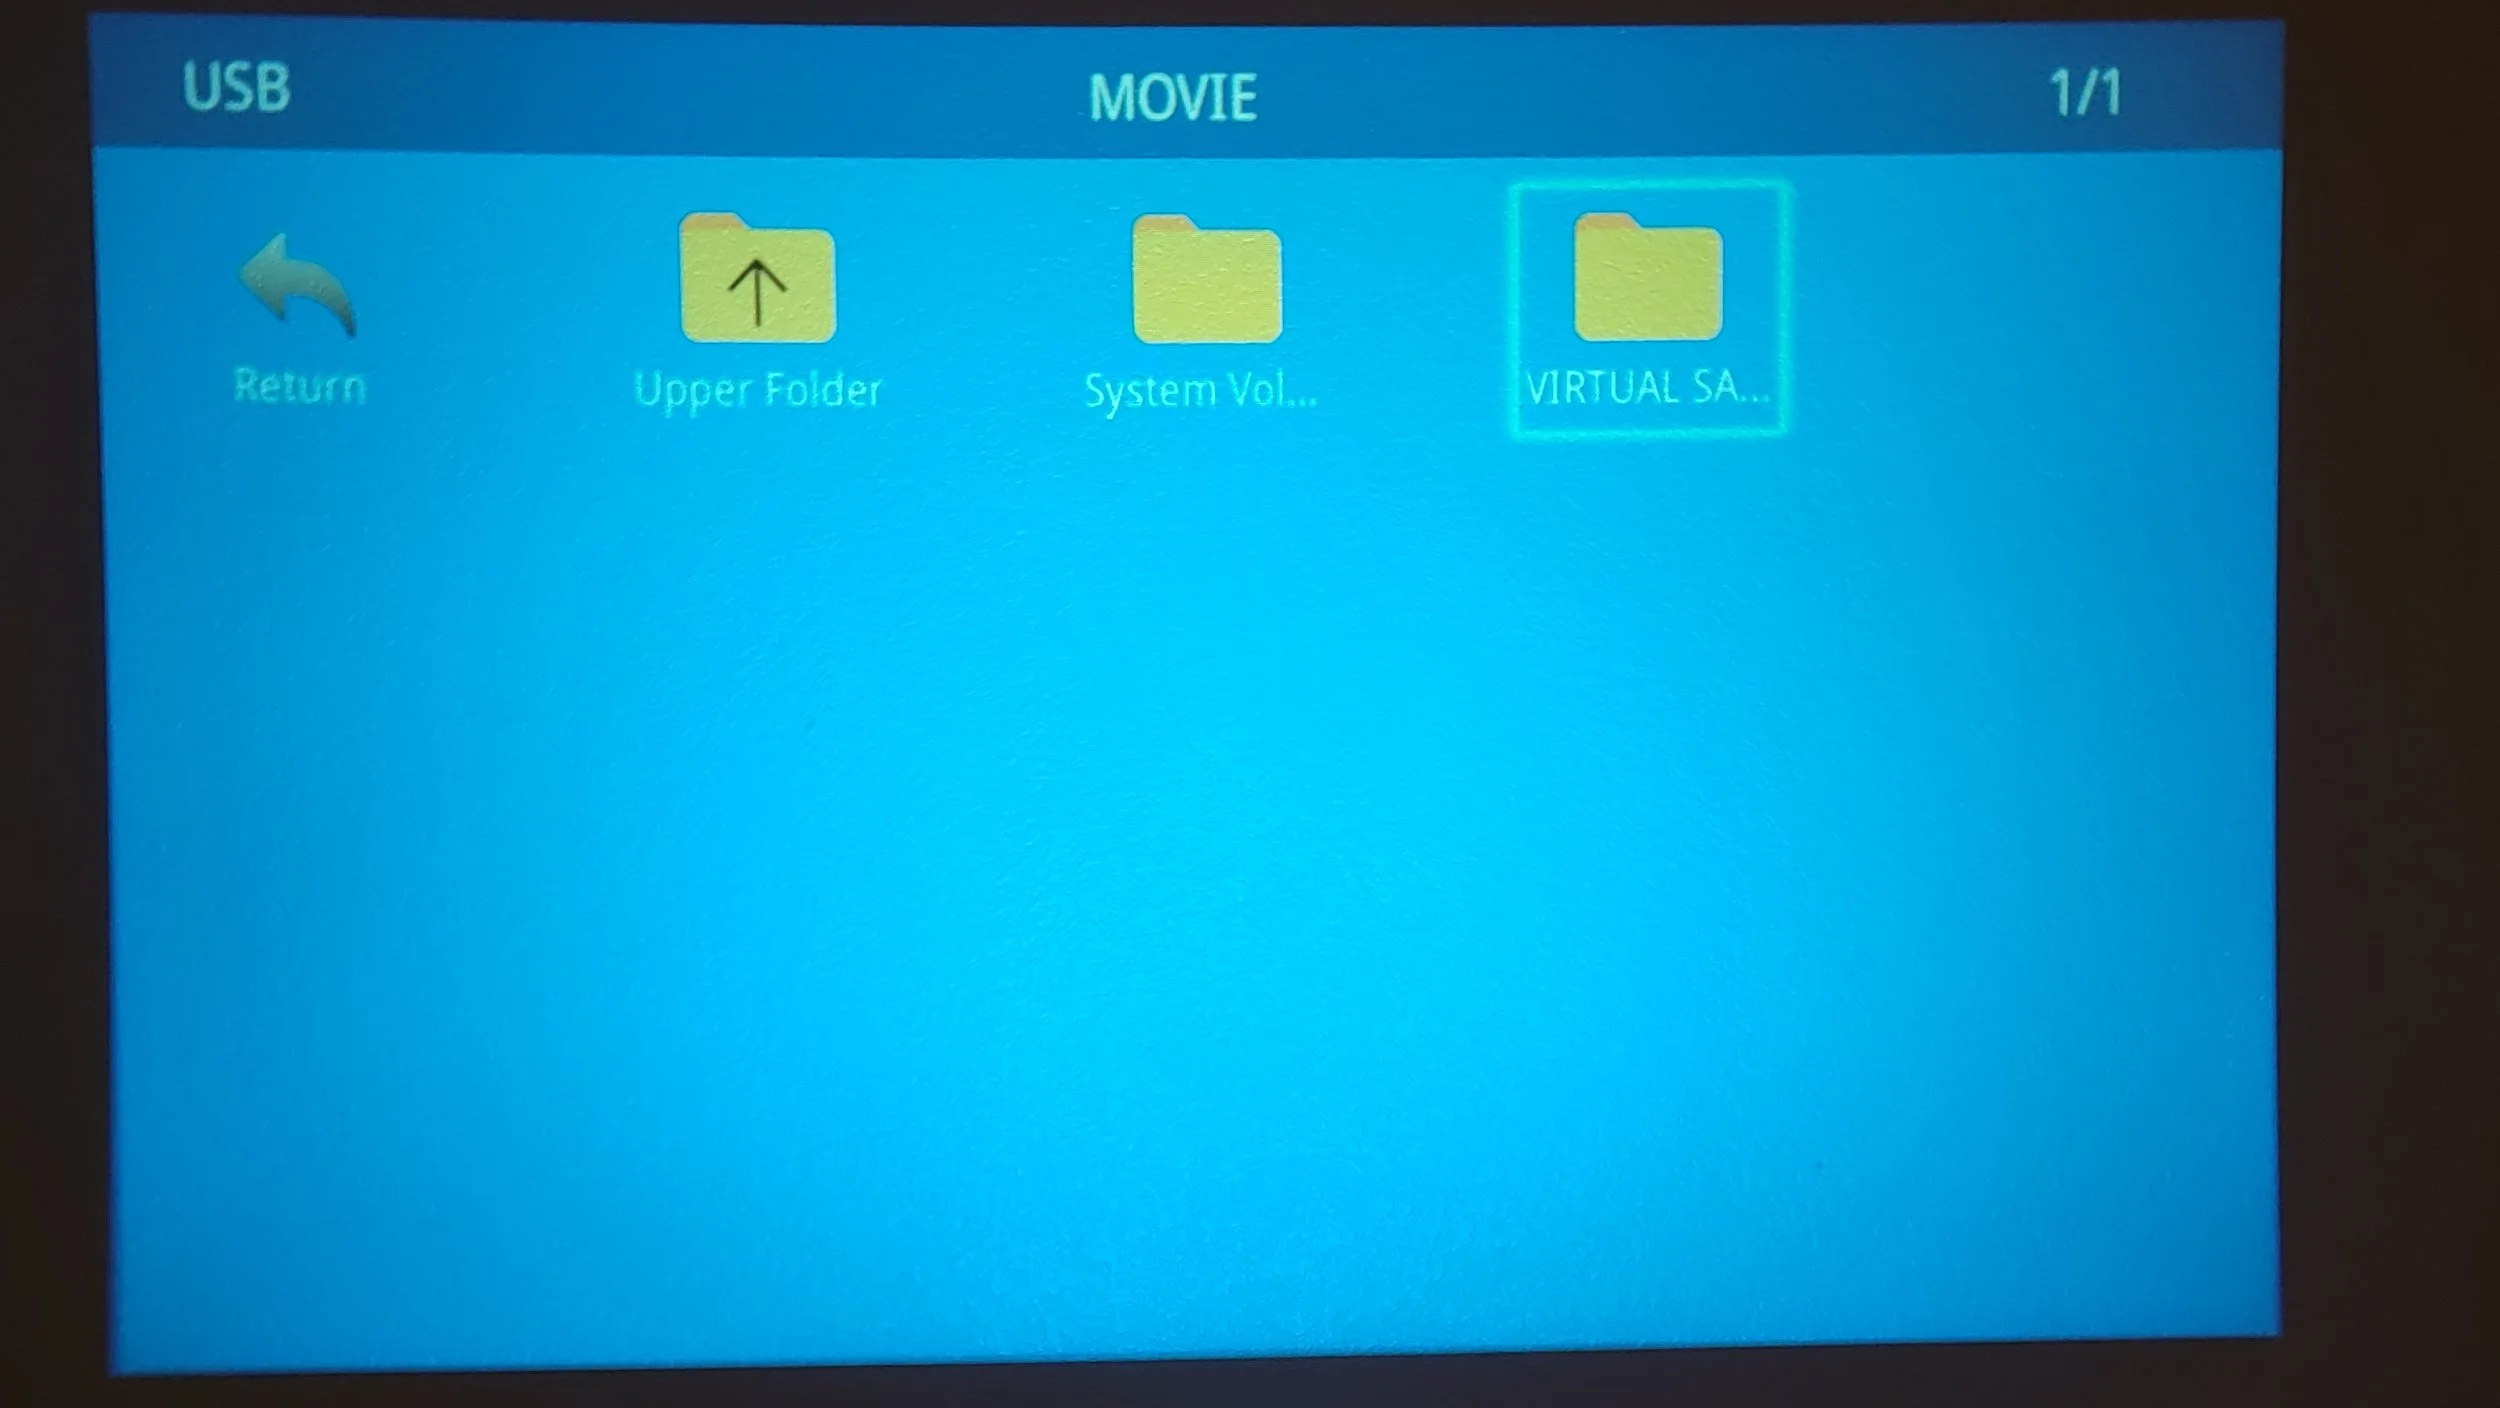
6) Click on the USB icon.
7) Scroll to the right and click on the Virtual Santa folder.
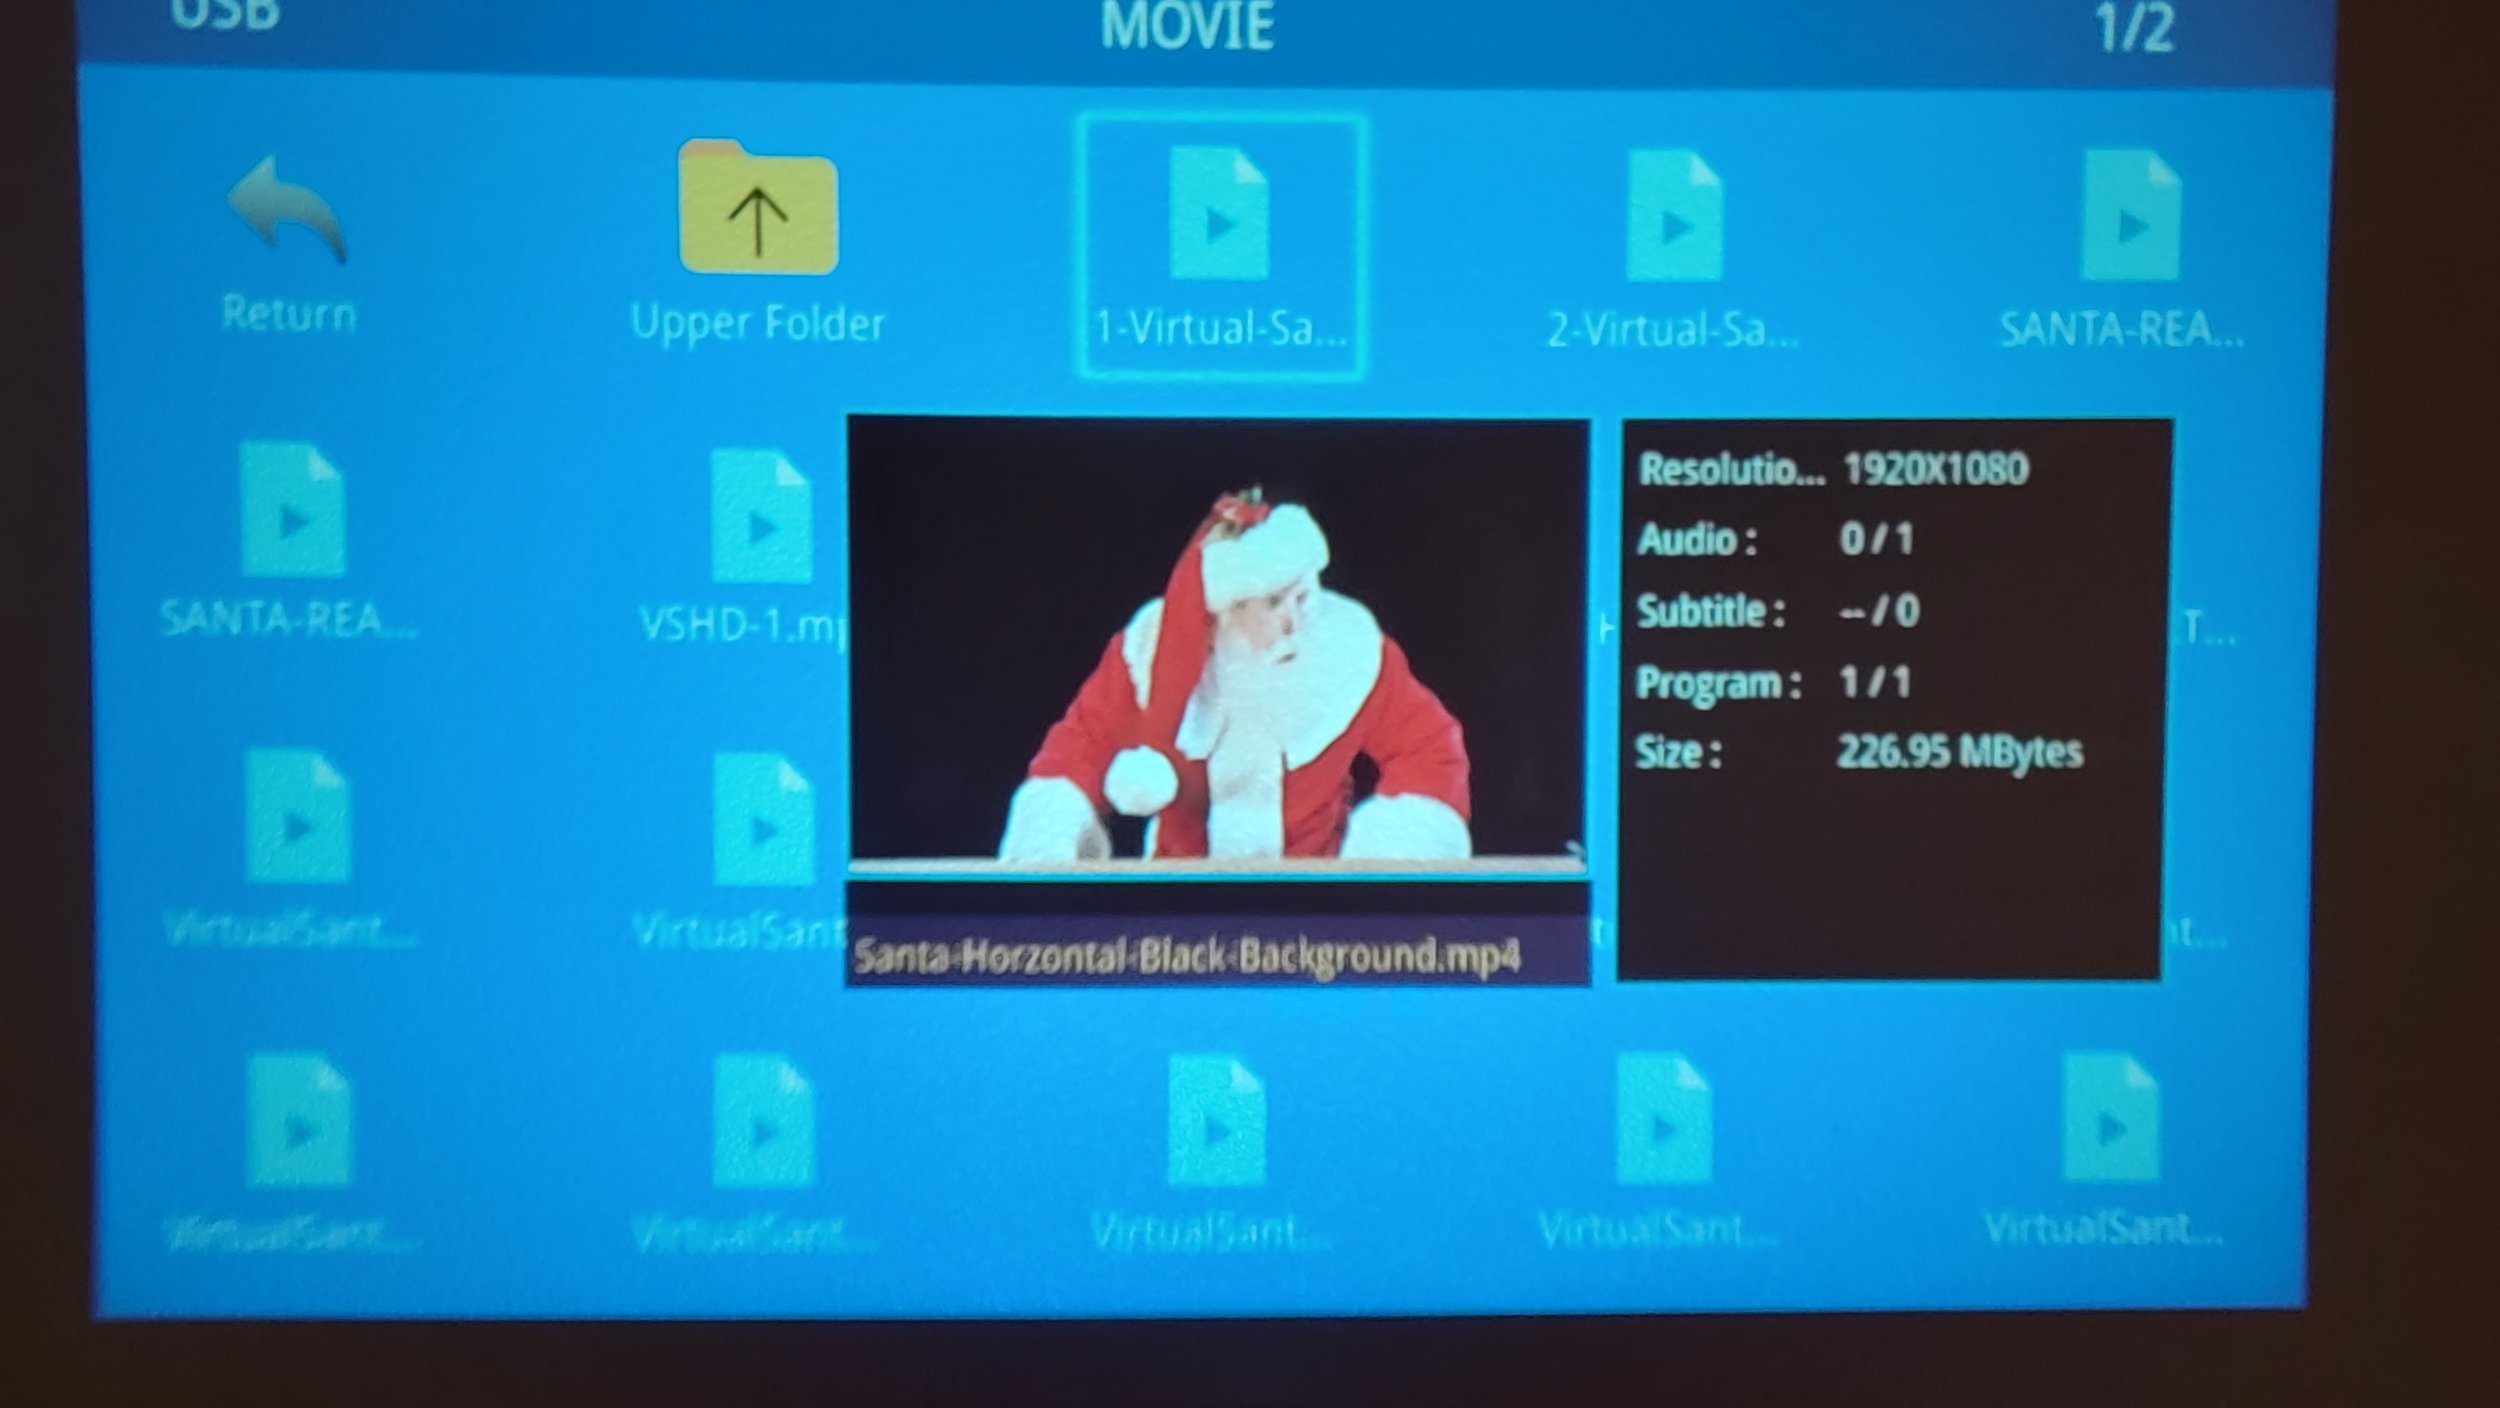
8) Scroll over to the first movie (Virtual Santa on black background).
9) Click OK on that movie once (It will start playing).
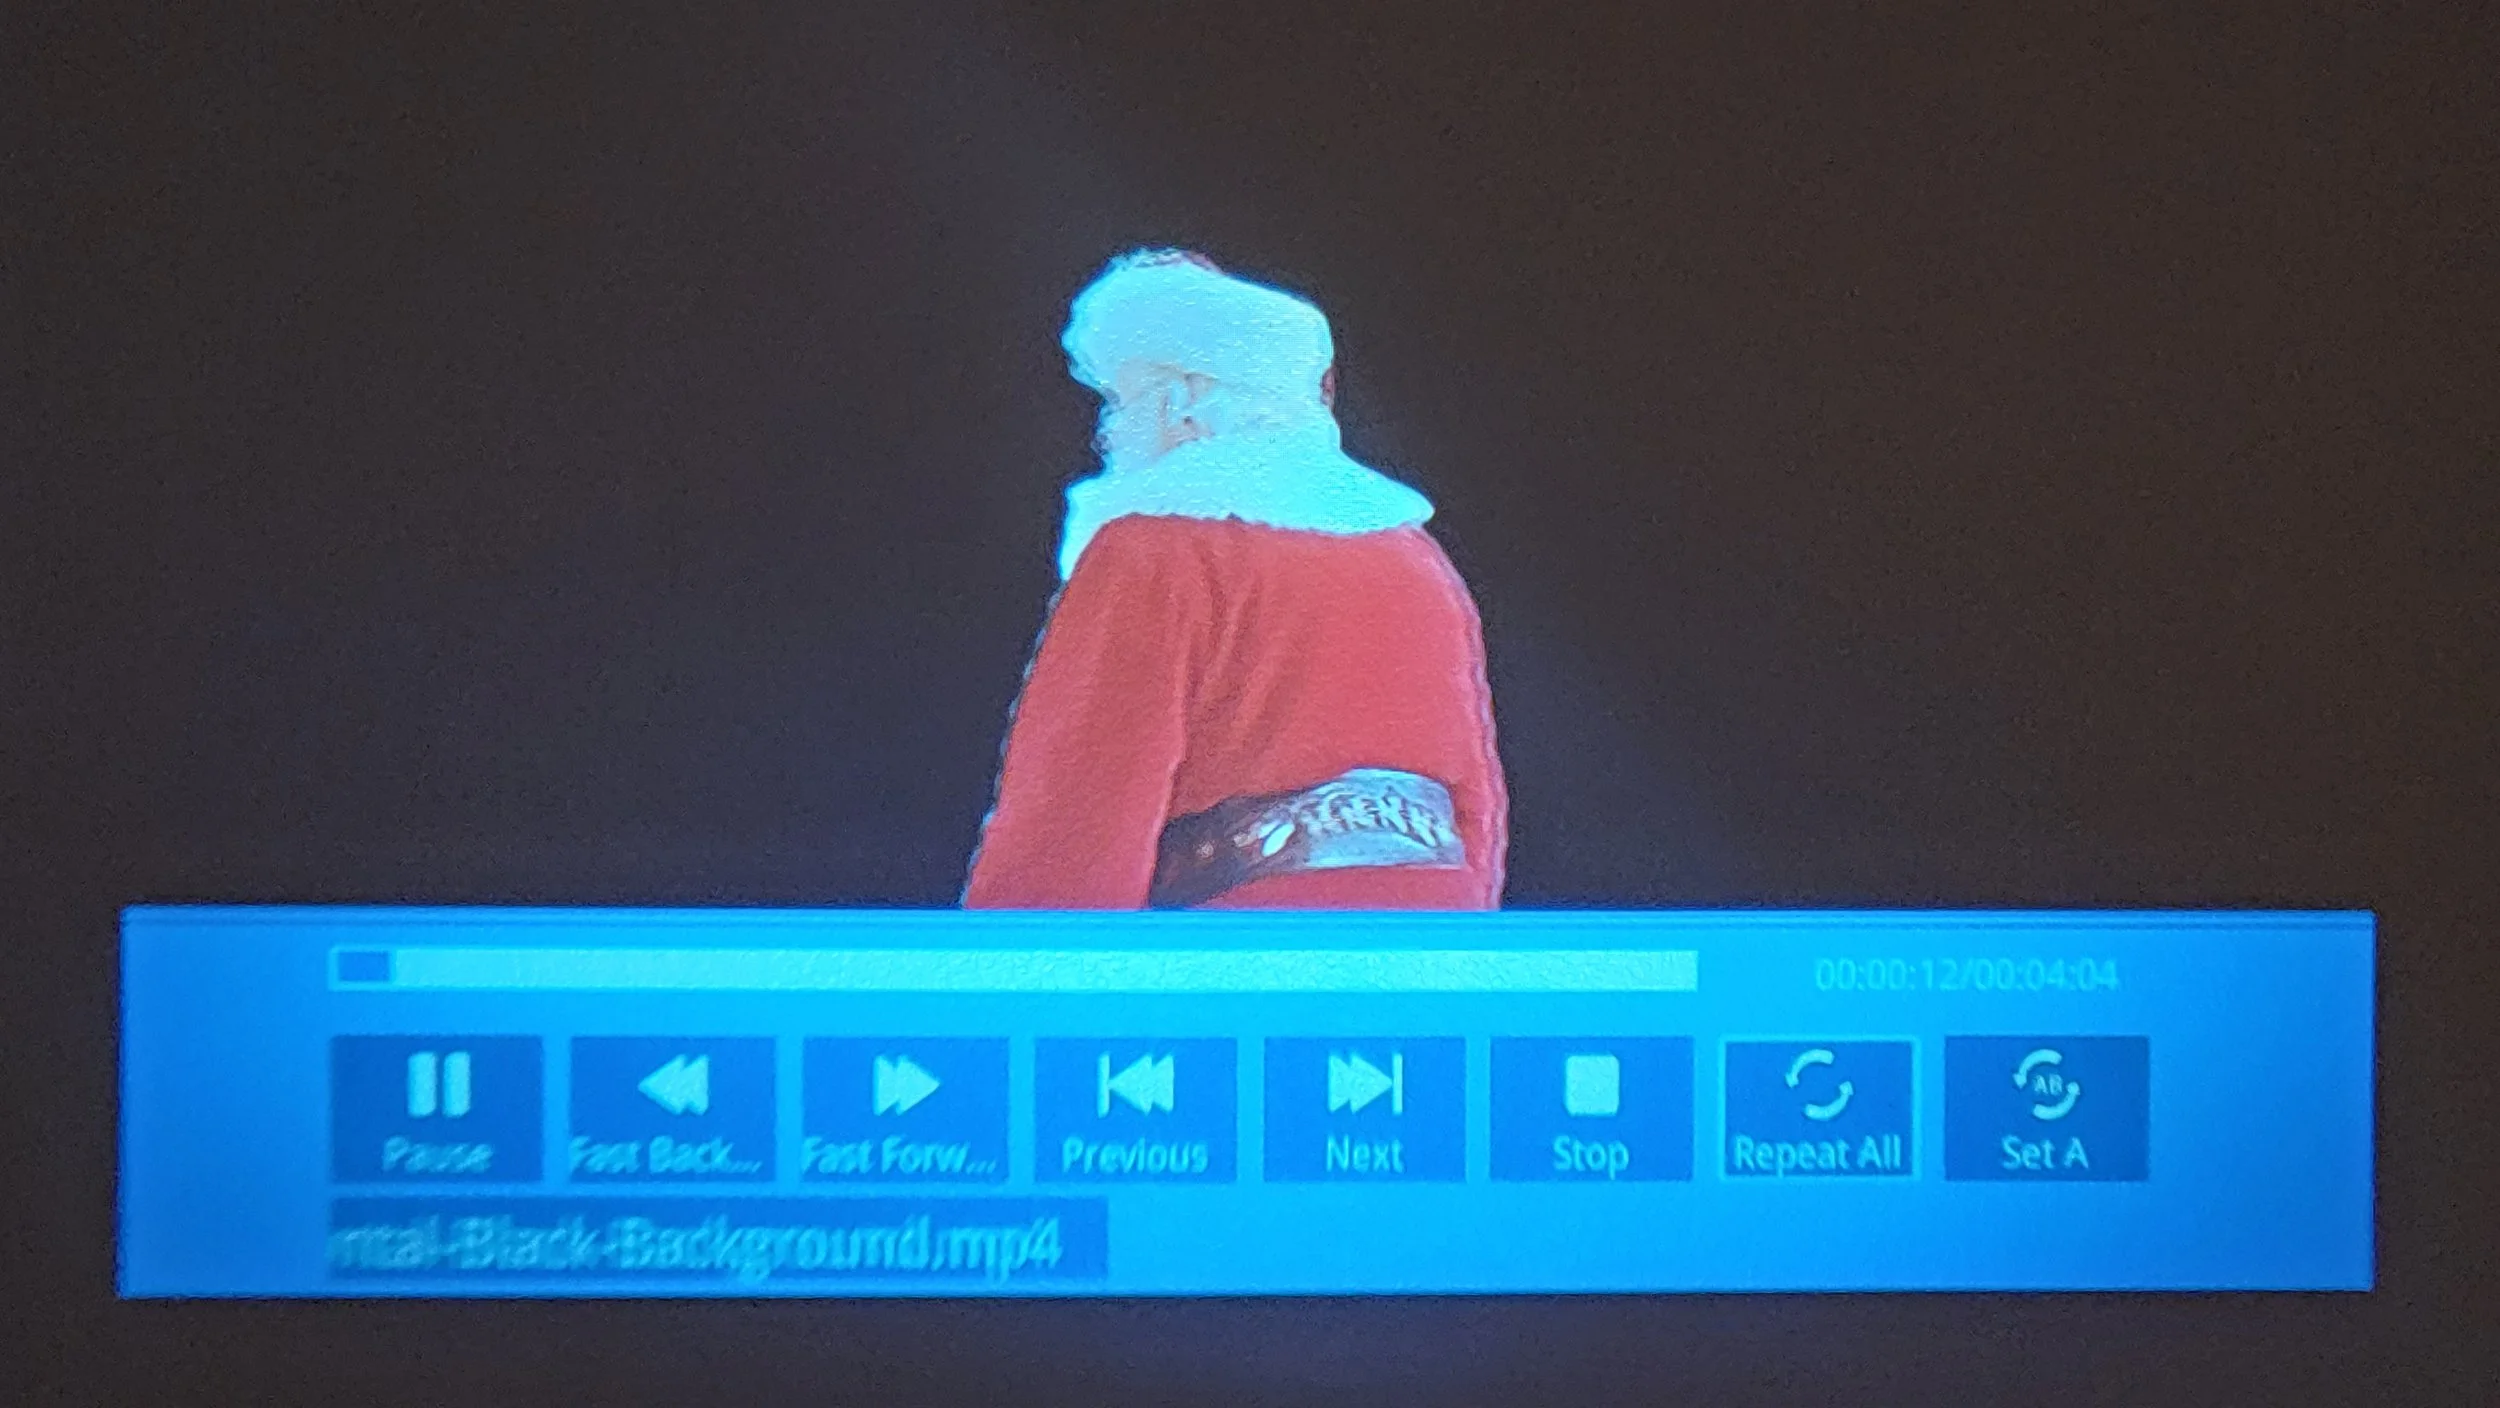
10) Click on that same movie a second time, and a menu will appear at the bottom.
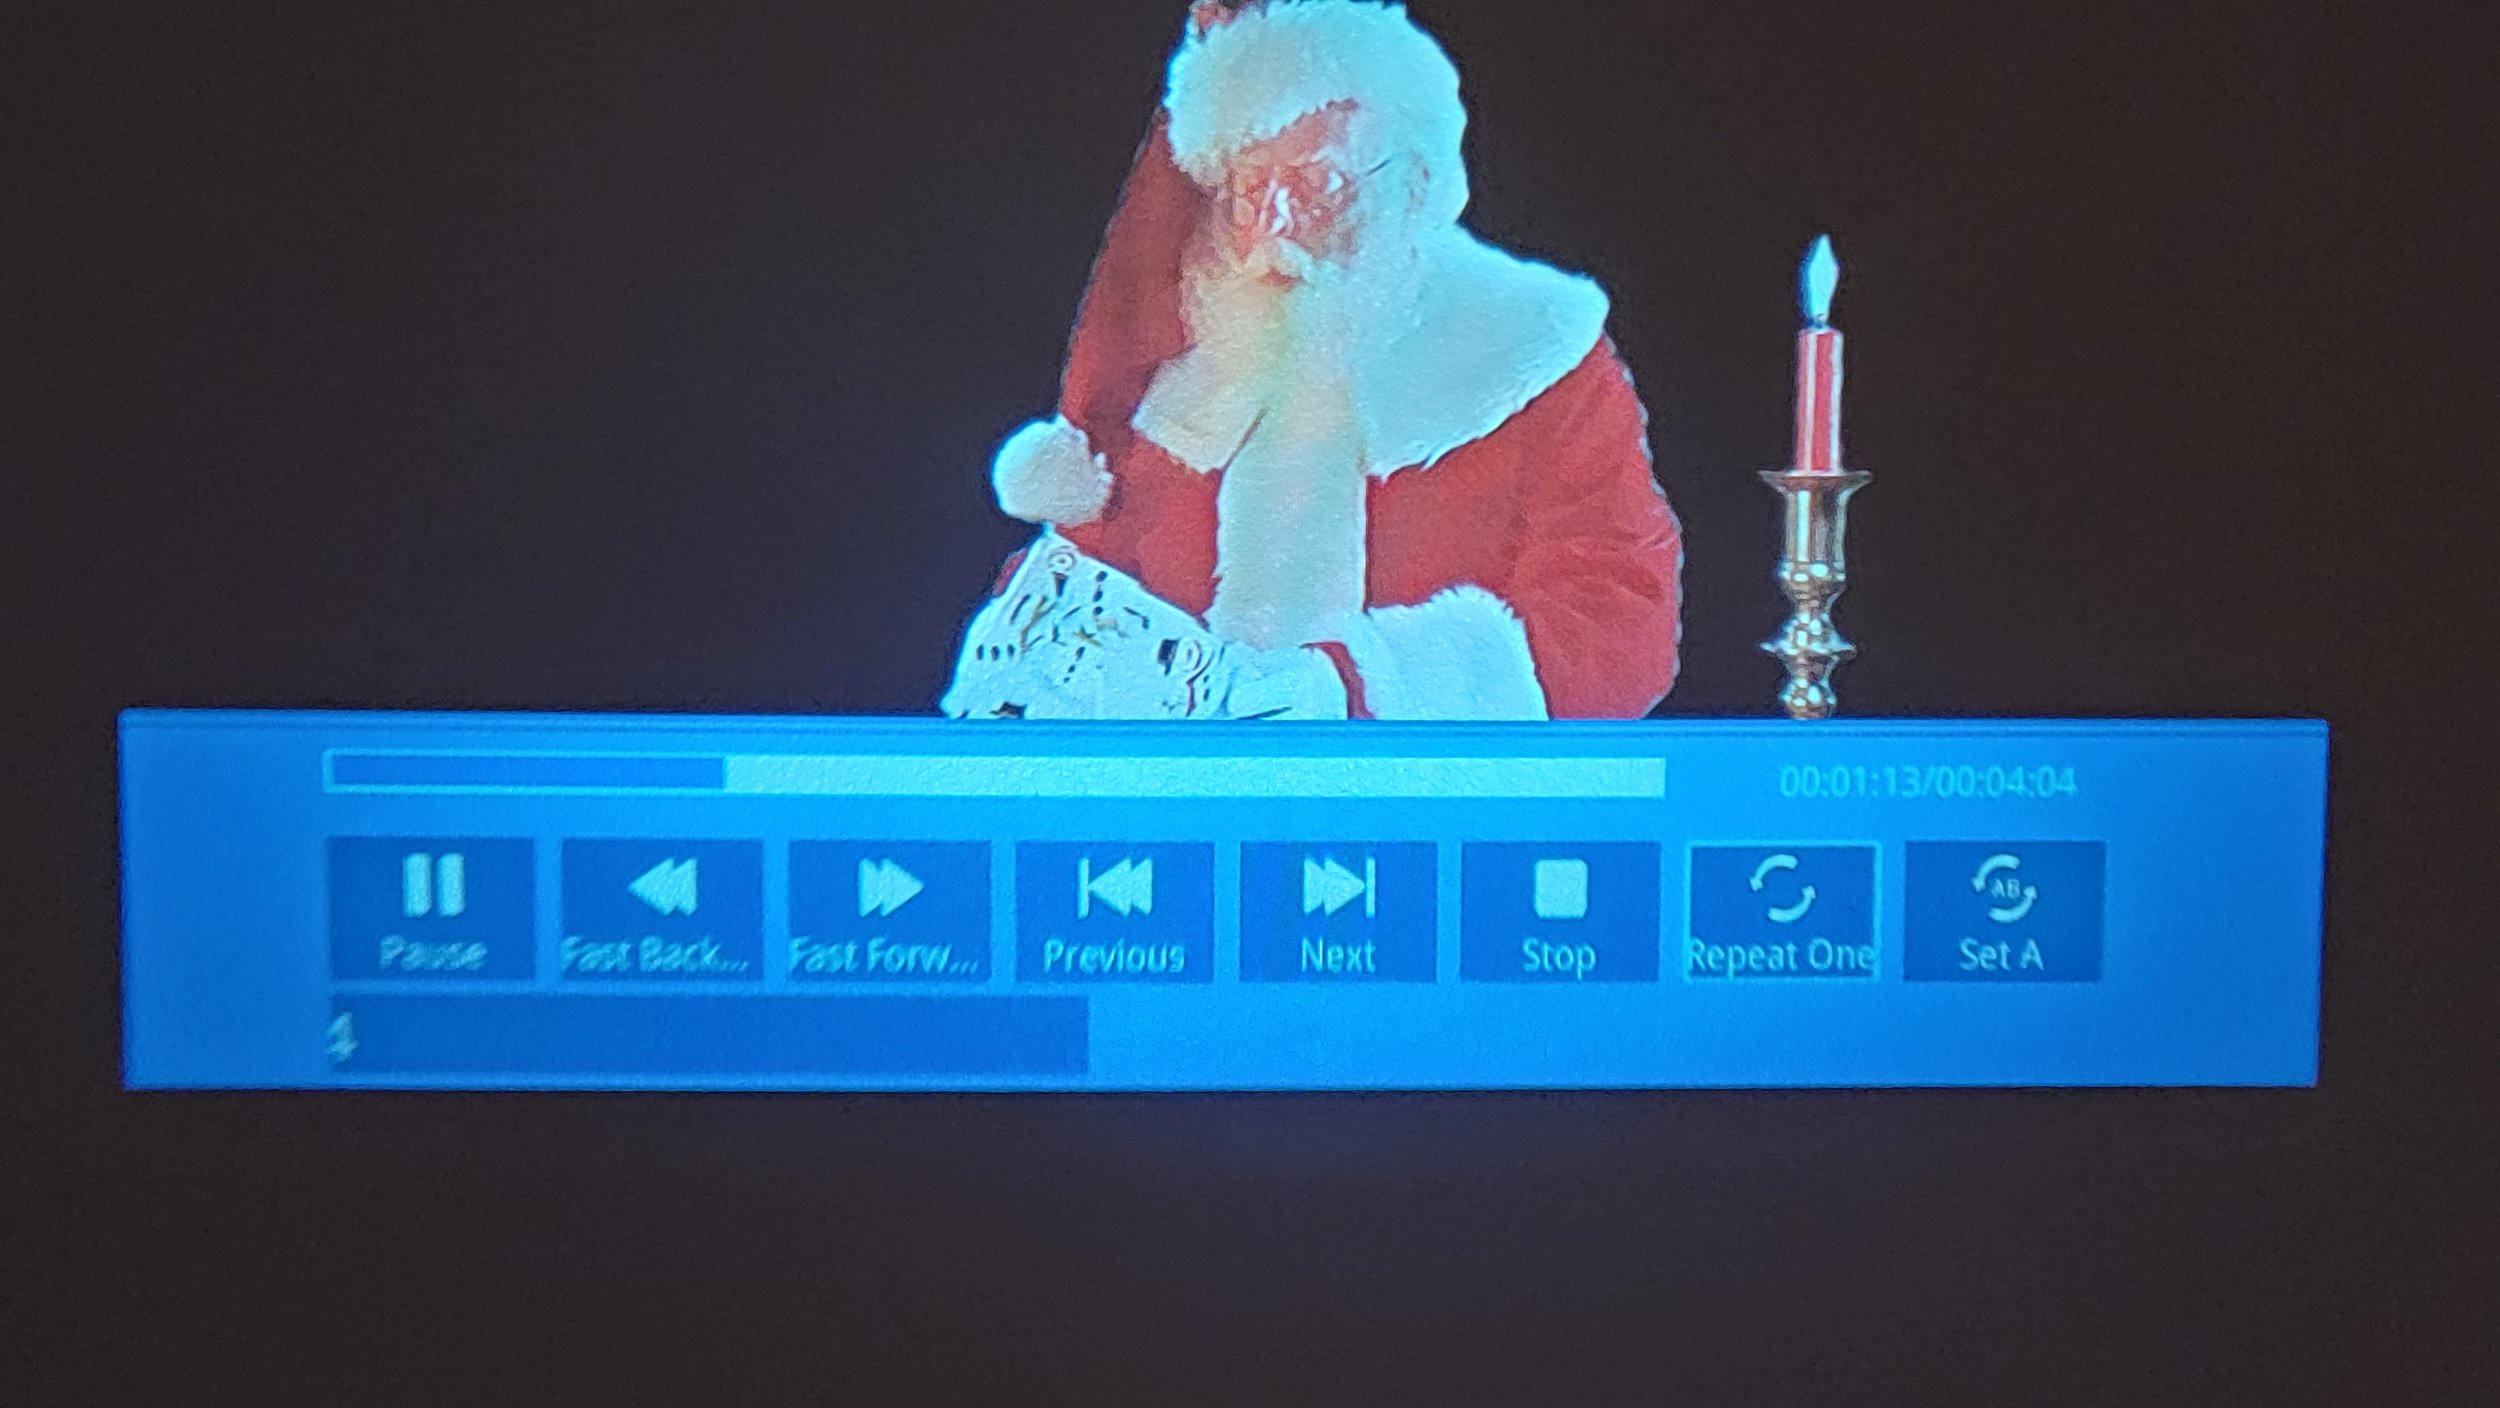
11) Scroll over to the right and click on REPETE ALL, click it again until it says REPETE ONE.
Place down the remote, and the bottom menu will disappear, Virtual Santa (Or whatever movie you choose), will play over and over until you turn off the projector.
IMPORTANT NOTICE: “Please” … DO NOT place anything under the LED projector or around the LED projector. If you lay the LED projector on its side. DO NOT place a towell, blanket, anything (Except the Virtual Santa Projector Stand Listed Online), under it because like any other electronic device, it has “Overheat Protection” built-in to its circuit board, and your LED projector will “Freeze” or shut-down until it has cooled down, just make sure whatever you sit the LED projector on, that the fan vents are not blocked.
Below are some visual pictures we took showing you our step-by-step process.
Thats it, you are good to go!
Happy Holidays!
Virtual Santa